# GIT
Git is a free and open source distributed version control system designed to handle everything from small to very large projects with speed and efficiency.
# Installation on Windows
This section will guide you through the installation process of the Git command line tool for Windows.
# Downloading Git
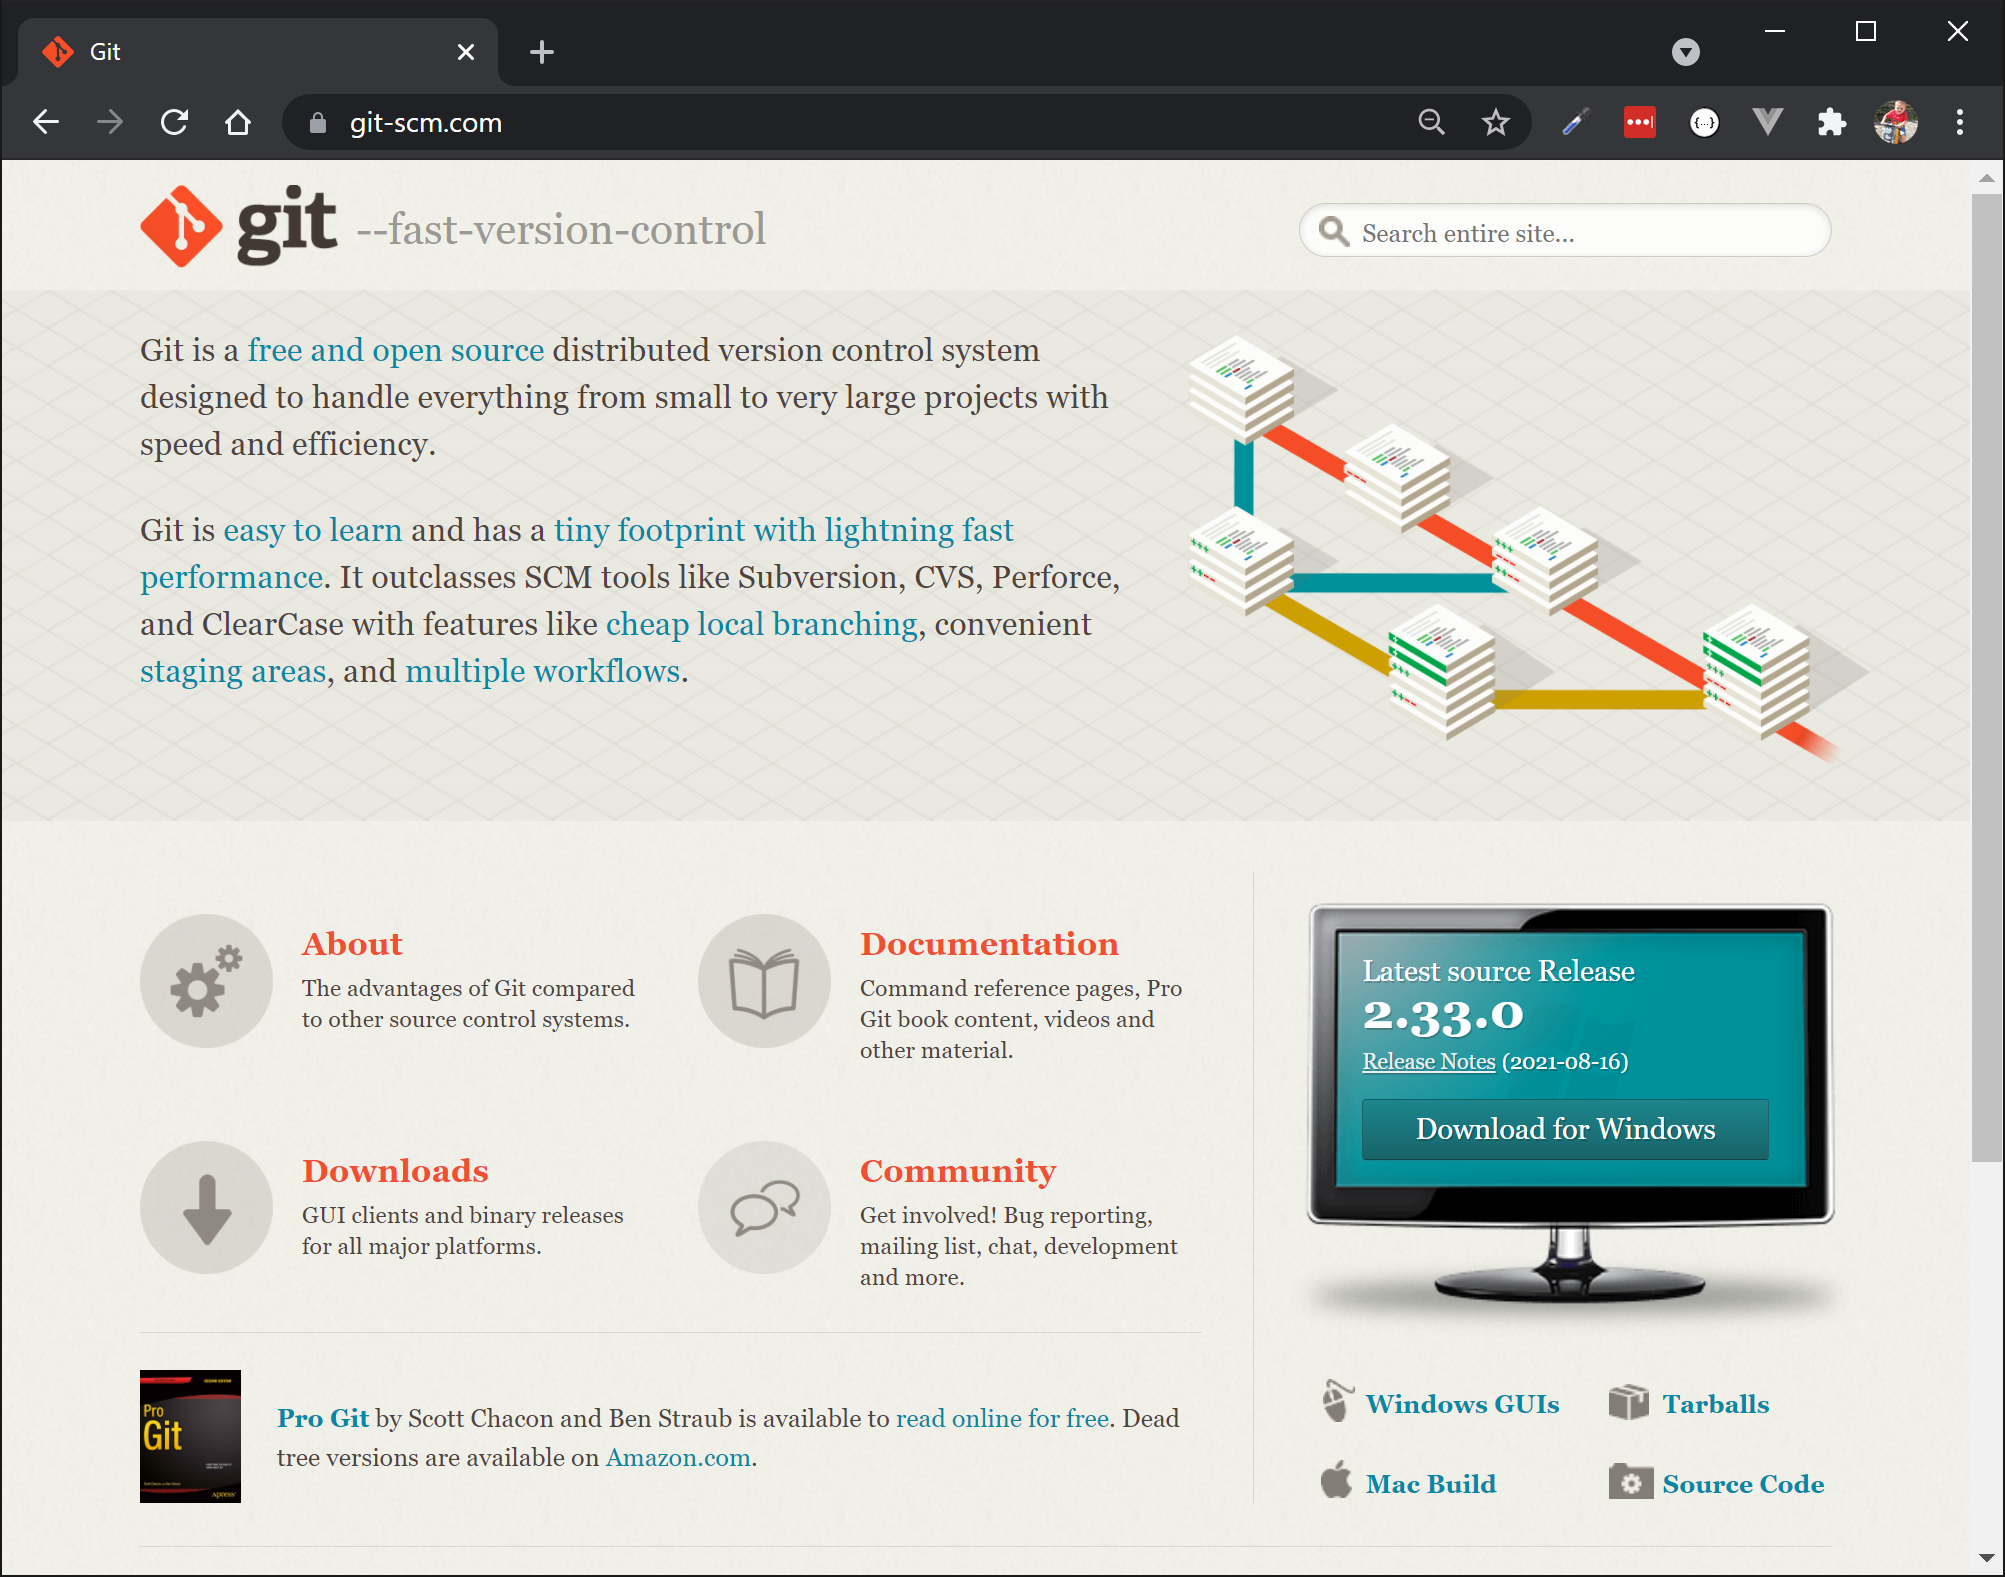
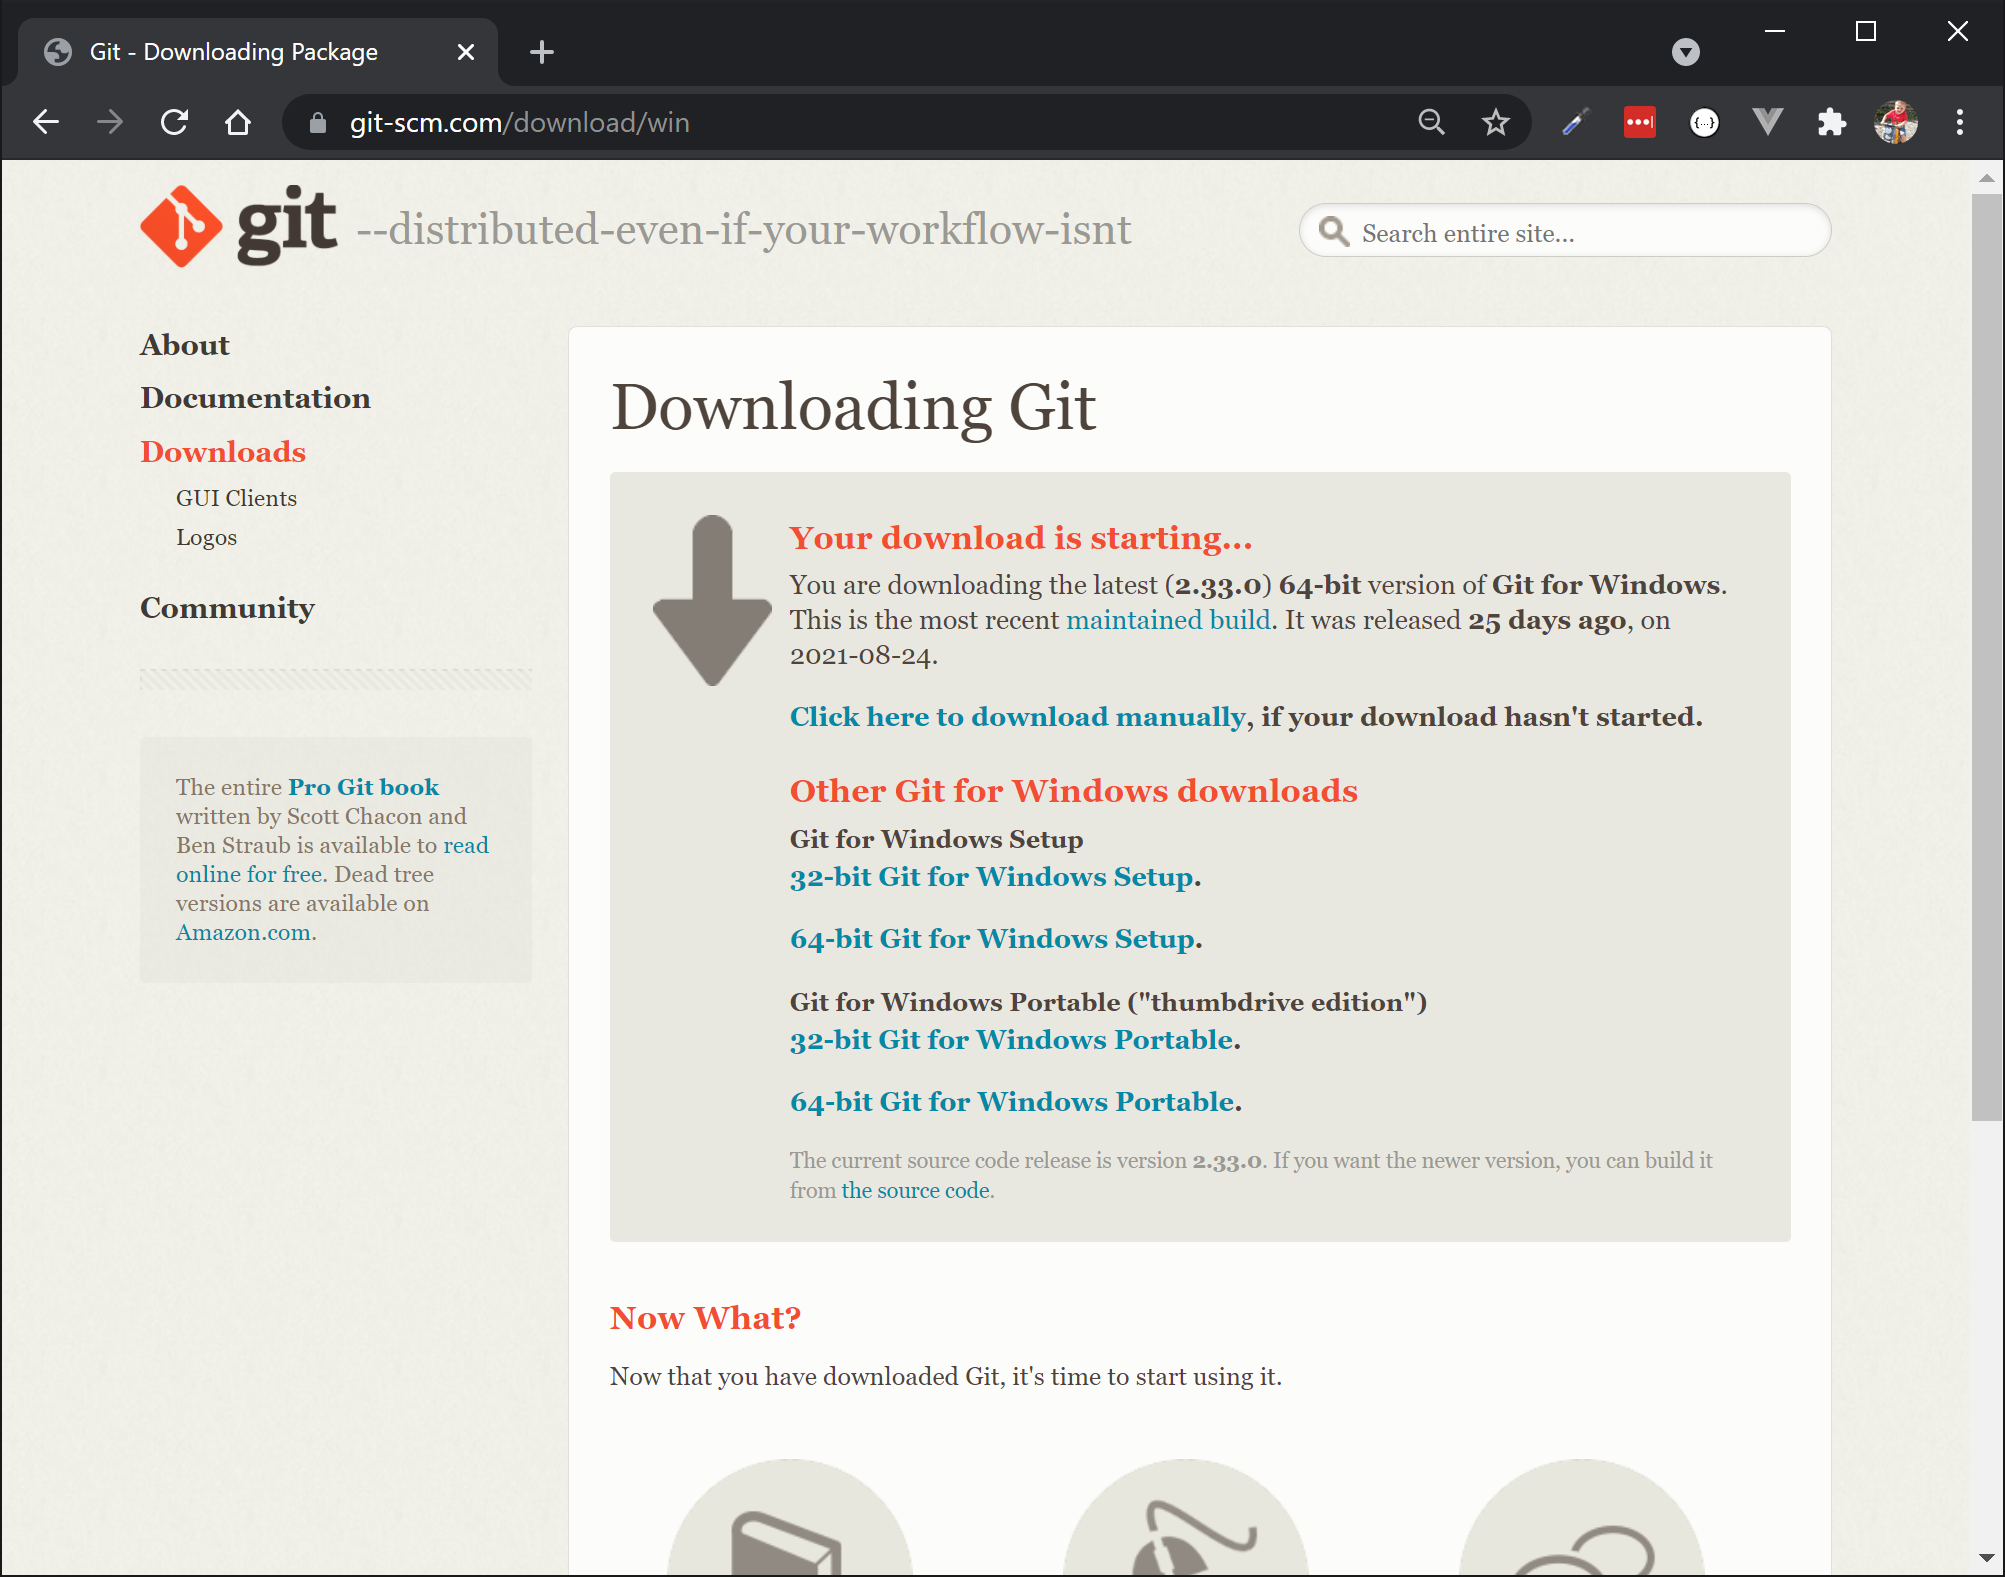
Navigate to git-scm.com (opens new window) and click the Download for Windows link. The download process should start automatically.
If your download doesn't start automatically, just click the 64-bit Git for Windows Setup link.
# Installation Wizard
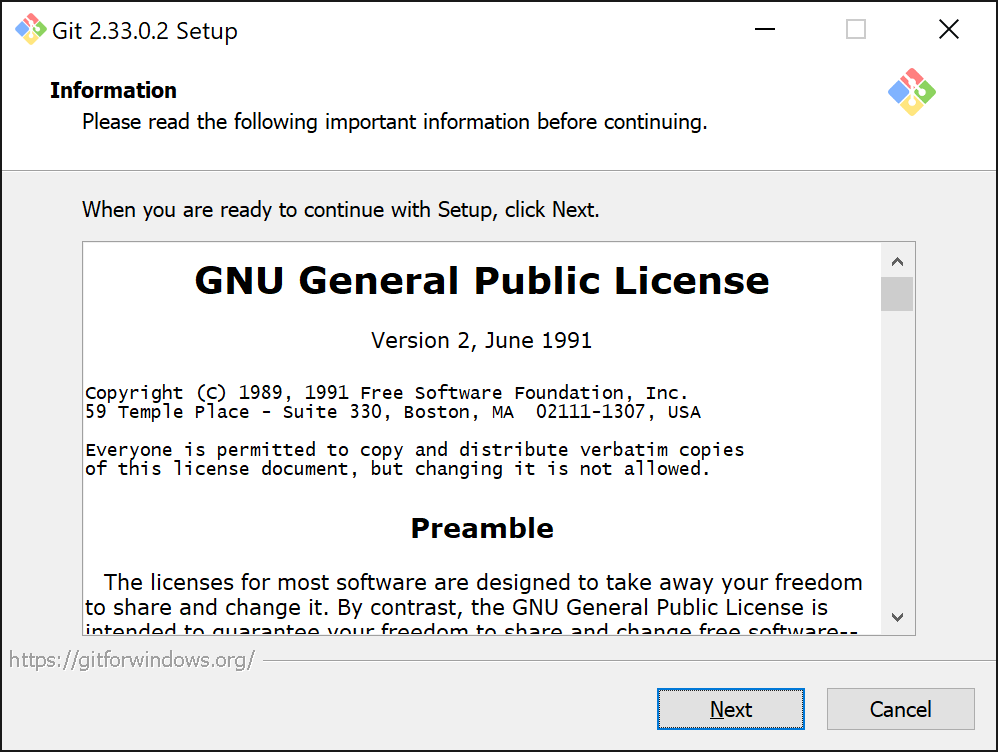
Start the wizard by executing the installer and follow the steps of the installation wizard.
When presented with the Windows User Account Control popup you can select Yes to continue.
Click Next to accept the GNU license.
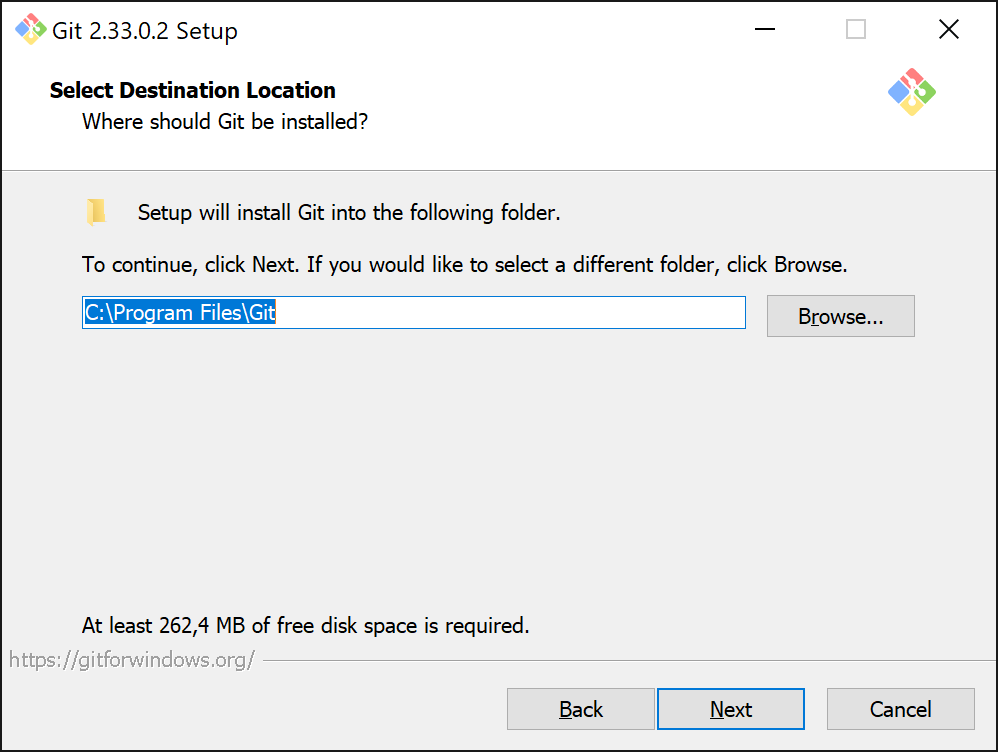
You can keep the default destination location C:\Program Files\Git. Click Next to continue.
When presented with the components selection screen, unselect the Windows Explorer Integration component.
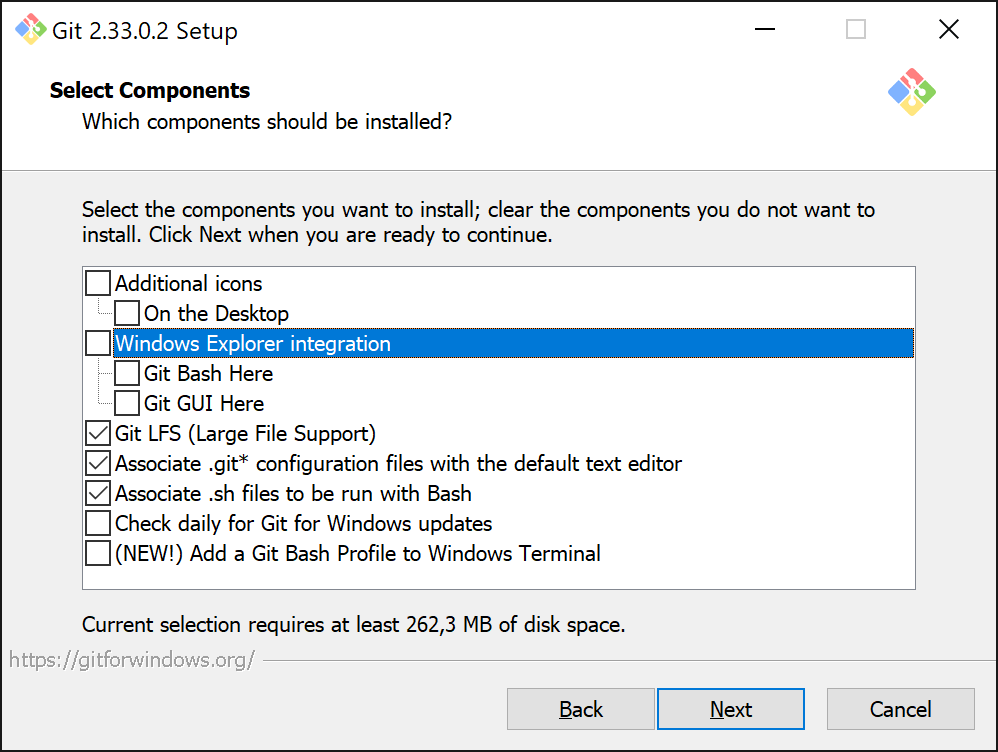
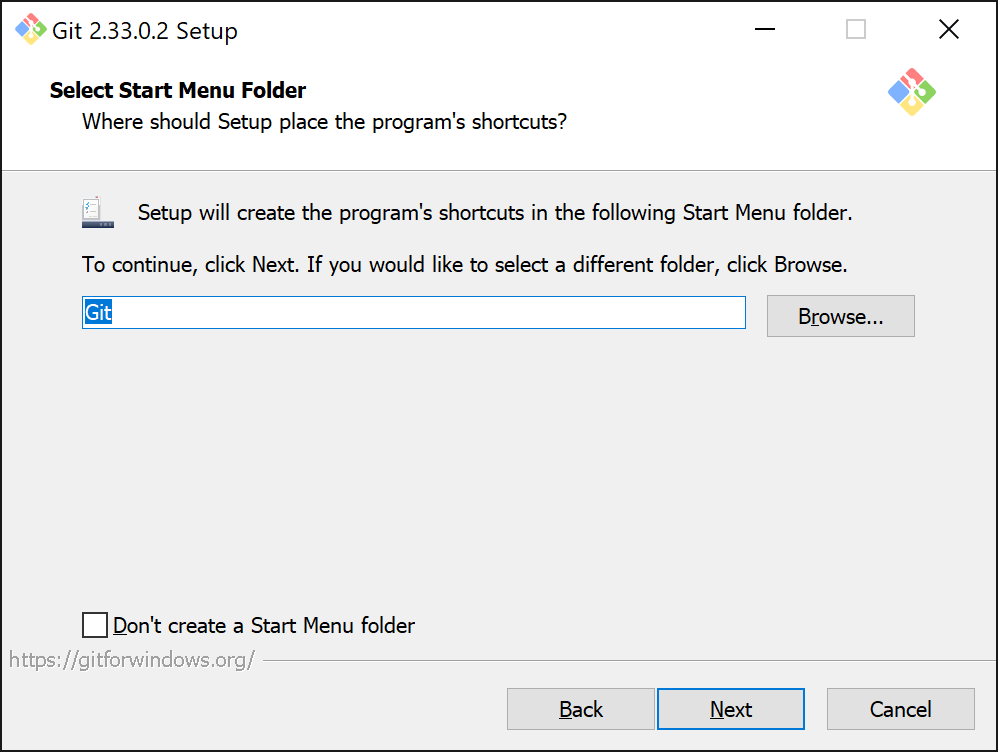
Keep the start menu folder to its default setting.
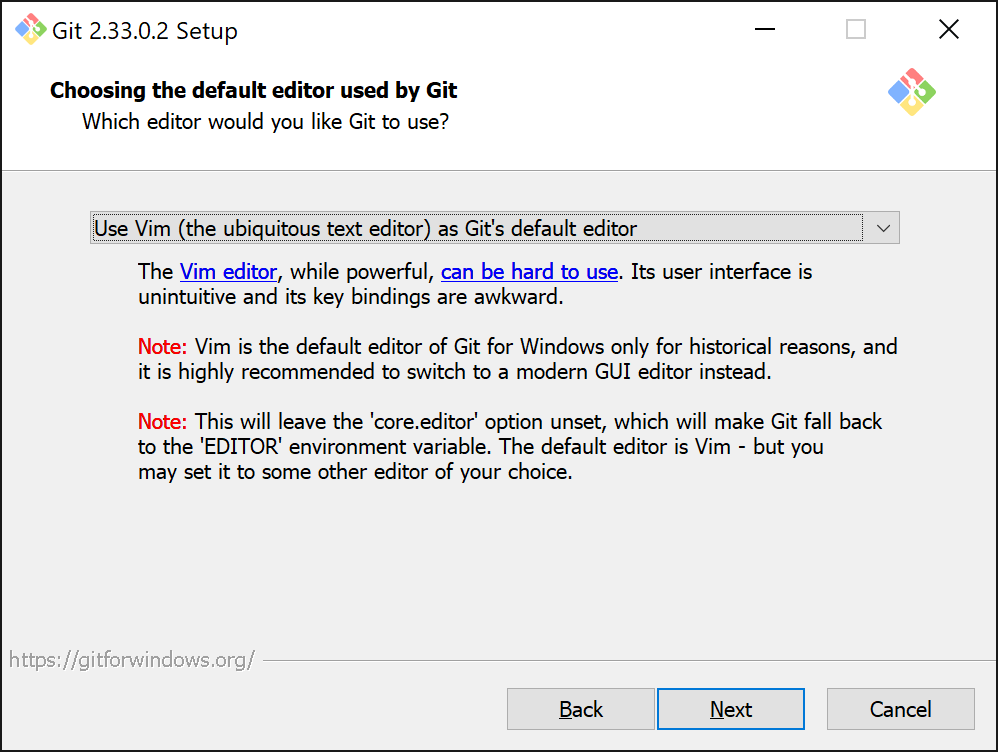
Next you will need to select the default text editor to be used with Git.
If you already have Visual Code installed, you can select the option Use Visual Studio Code as Git's default editor. If not, then leave the default which is Use Vim (the ubiquitous text editor) as Git's default editor.
Some time ago git changed the name of the primary branch from master to main. This installation step will allow you to decide what name you wish to give your primary branch. Since all our courses are not yet updated to the new system, we prefer to keep it at master for the time being.

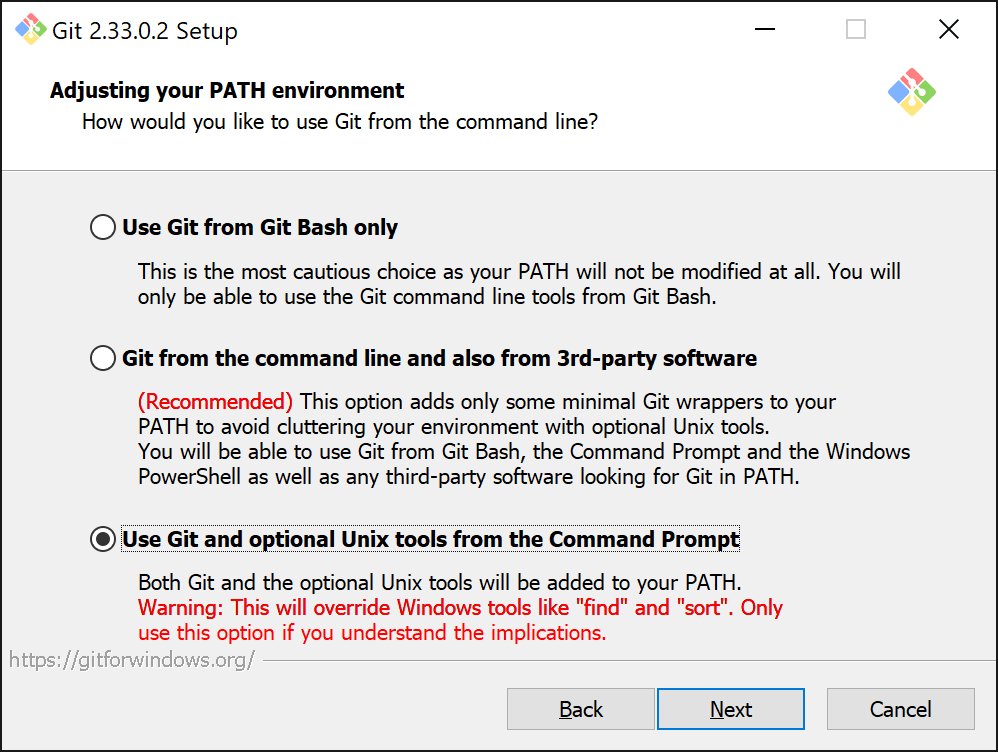
Next you will need to decide what tools are installed and added to your PATH. Select the option Use Git and optional Unix tools from the Command Prompt. This will allow us to use some useful unix tools from PowerShell.
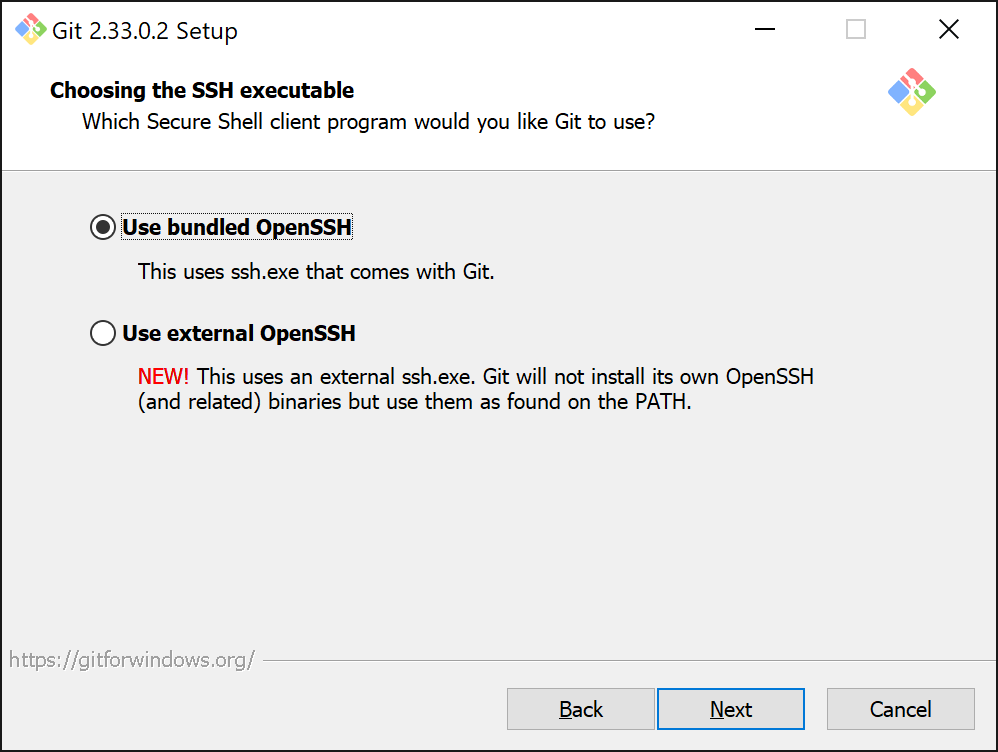
The following screen allows us to select the SSH client that Git will use. Leave the default option, which is Use OpenSSH.
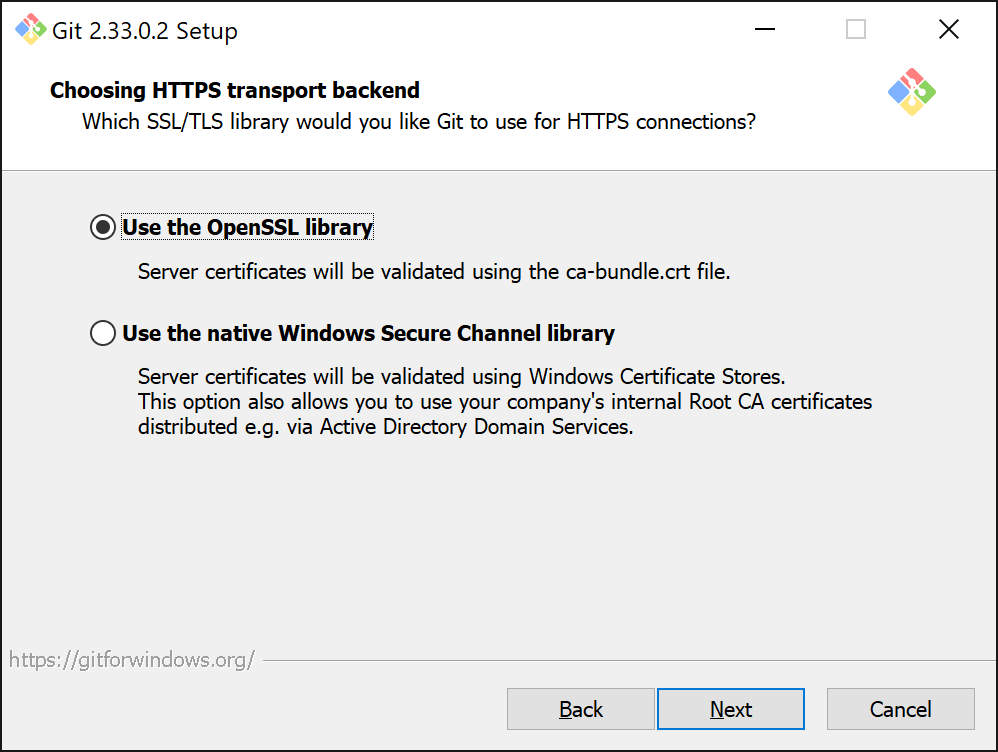
Next you will need to select which SSL/TLS library needs to be used for HTTPS connections. Leave the default option, which is Use the OpenSSL library.
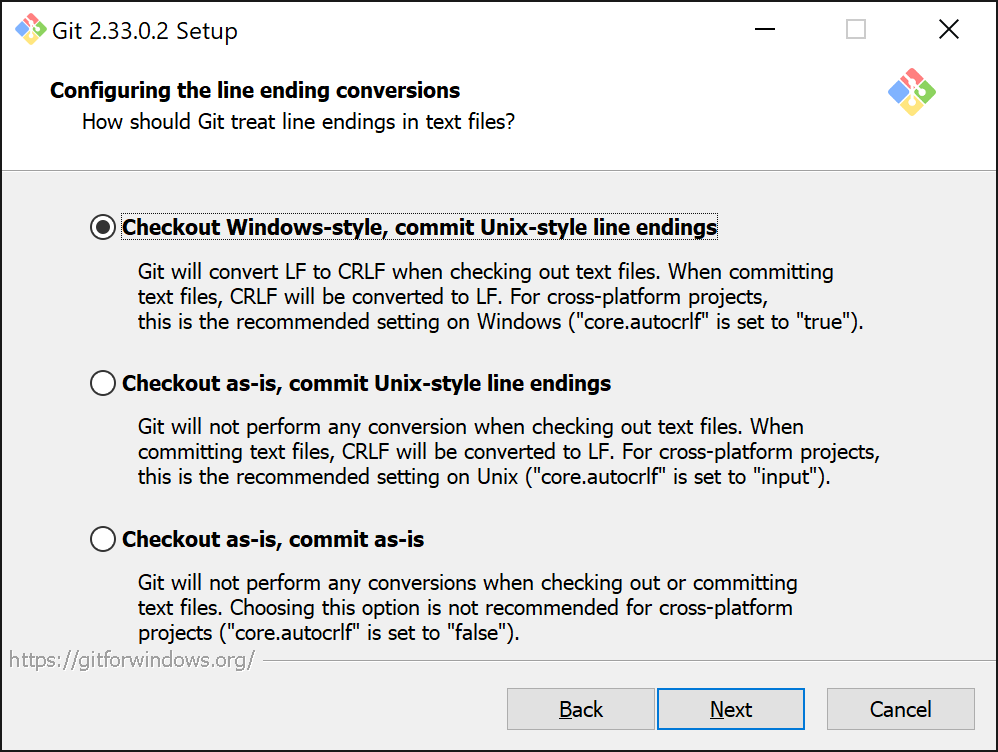
Now Git needs to know how it should treat line-endings when committing files. This because line-endings differ between Windows and Linux. Leave the configuration of line encoding conversion to its default, which is Checkout Windows-style, commit Unix-style line endings.
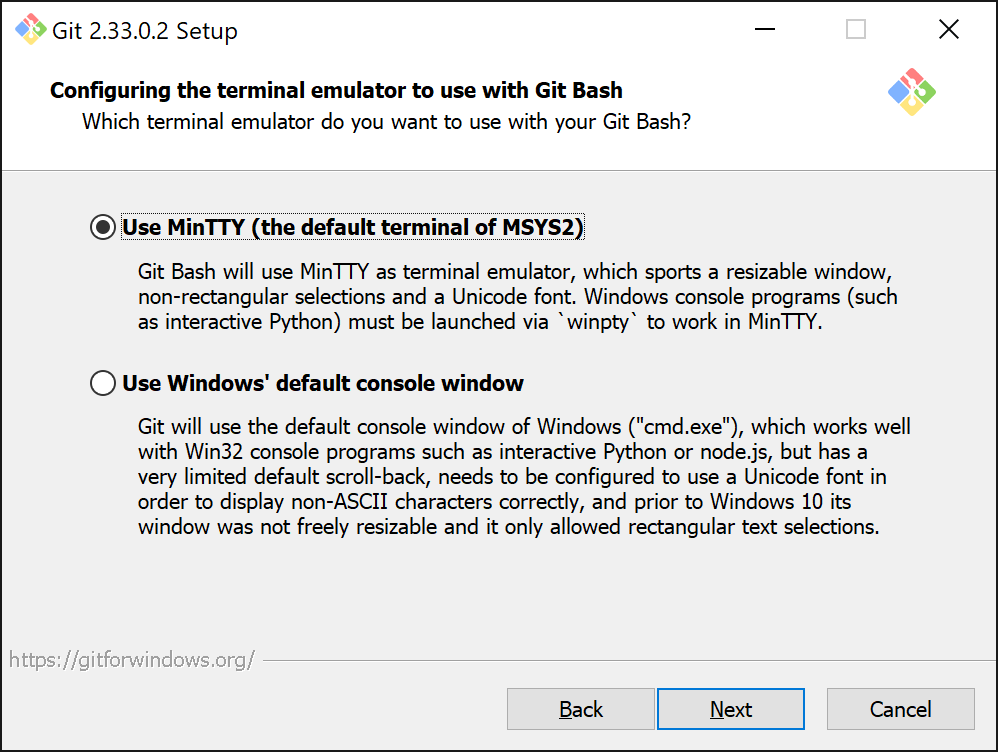
Next the Terminal Emulator can be selected. Leave the default Use MinTTY (the default terminal of MSYS2).
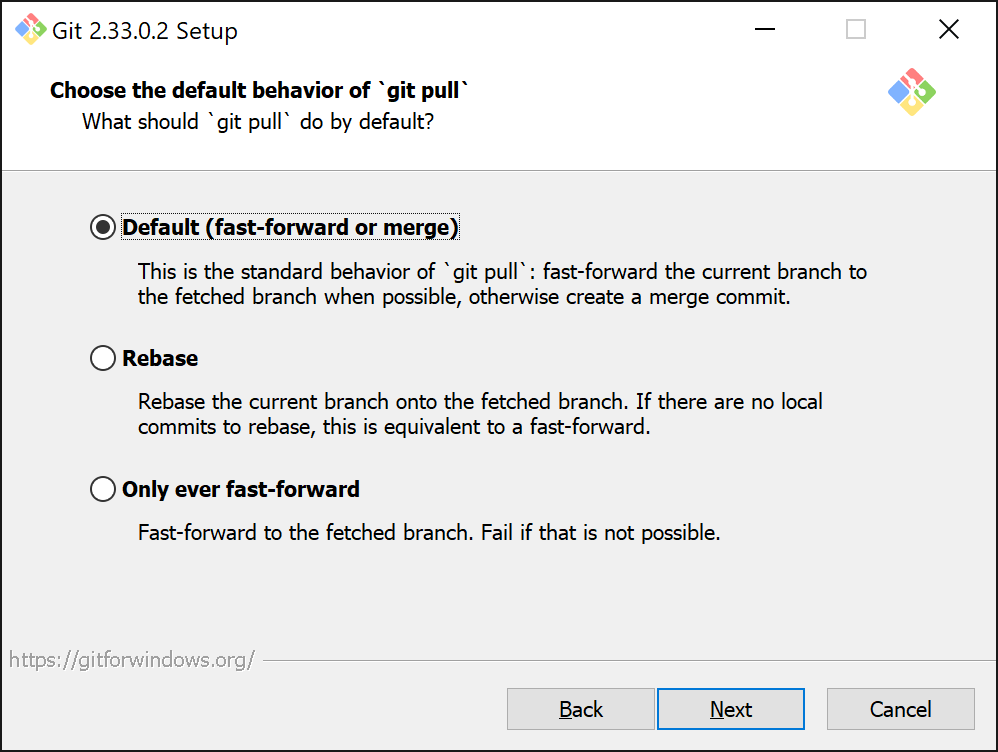
Now the default behavior of git pull can be configured. Leave the default Default (fast-forward or merge).
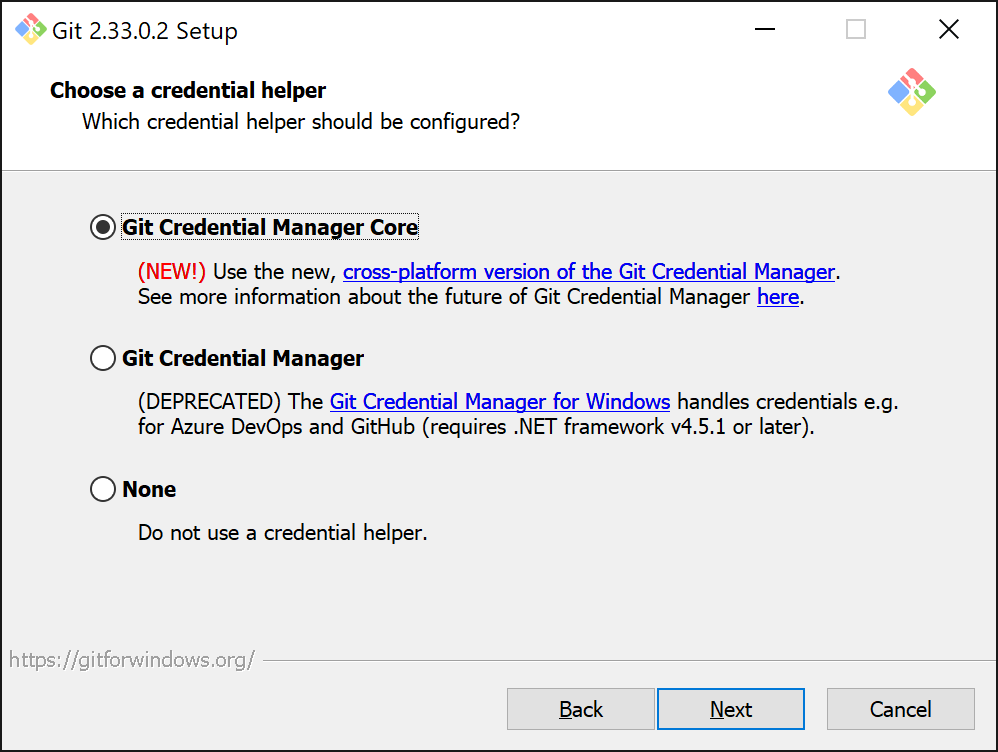
Leave the credential helper set to its new default Git Credential Manager Core.
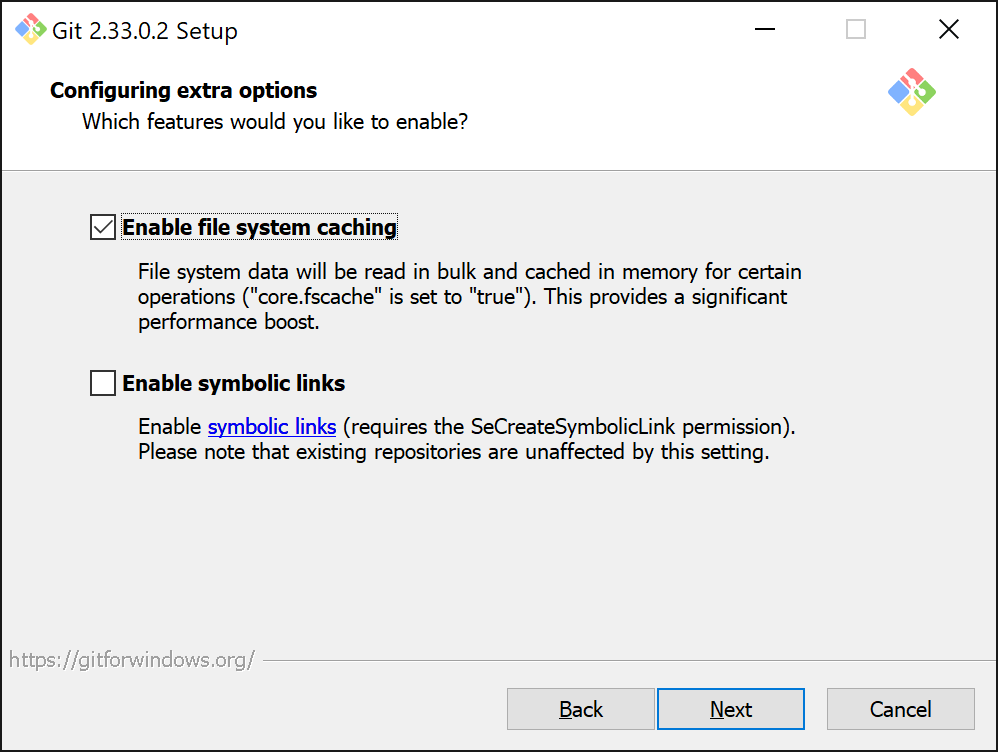
Leave the default extra features as is.
Don't include experimental options.

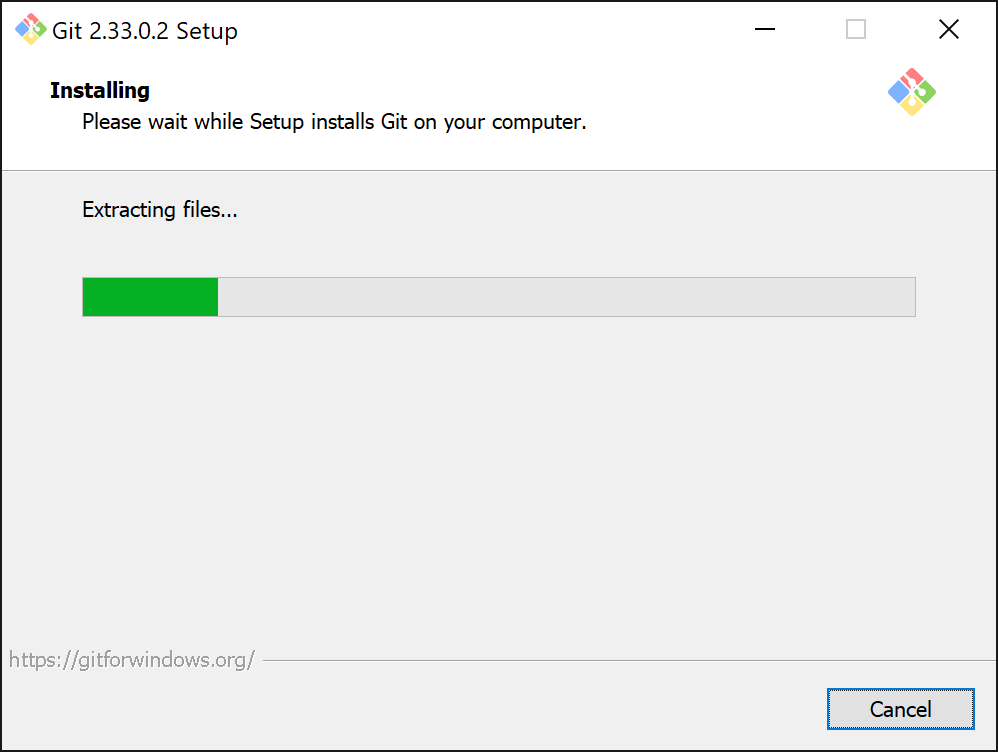
Once Install is clicked, the installation wizard will start with the installation of Git and the different tools.
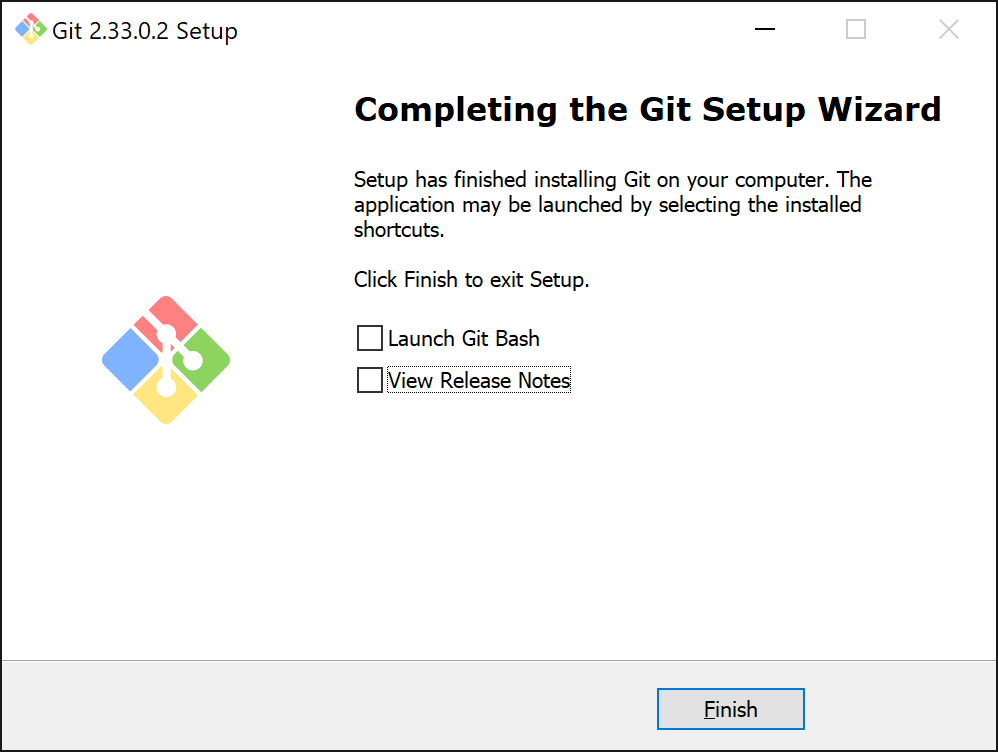
When the installation procedure is finished, you can close the installation wizard by clicking Next.
# Testing installation
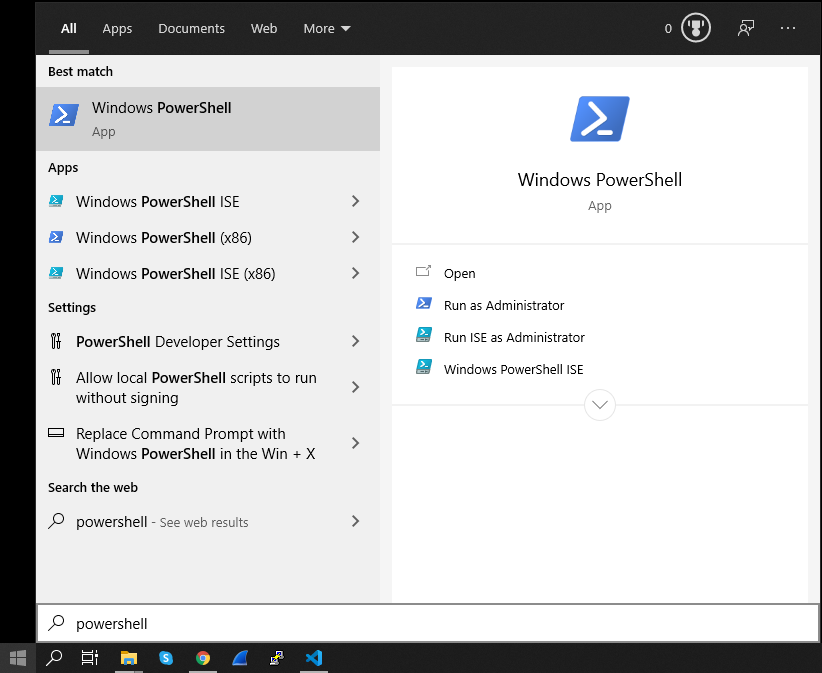
In the Windows start menu, search for the "Powershell" application by typing "Powershell" in the search box.
To test if Git was successfully installed, enter the following command in the powershell console:
git --version
If all goes well, it should tell you the current version of the installed Git client, and should not show any errors.
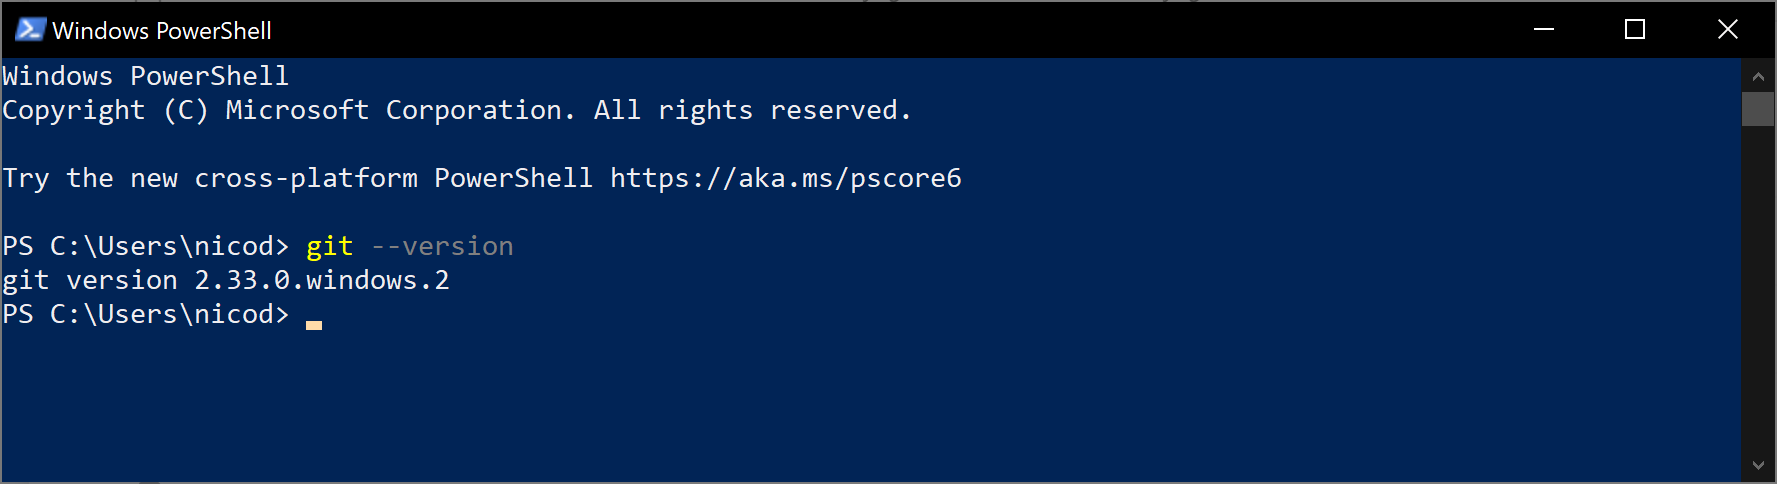
Git is now ready to be used.
# Installation on Linux
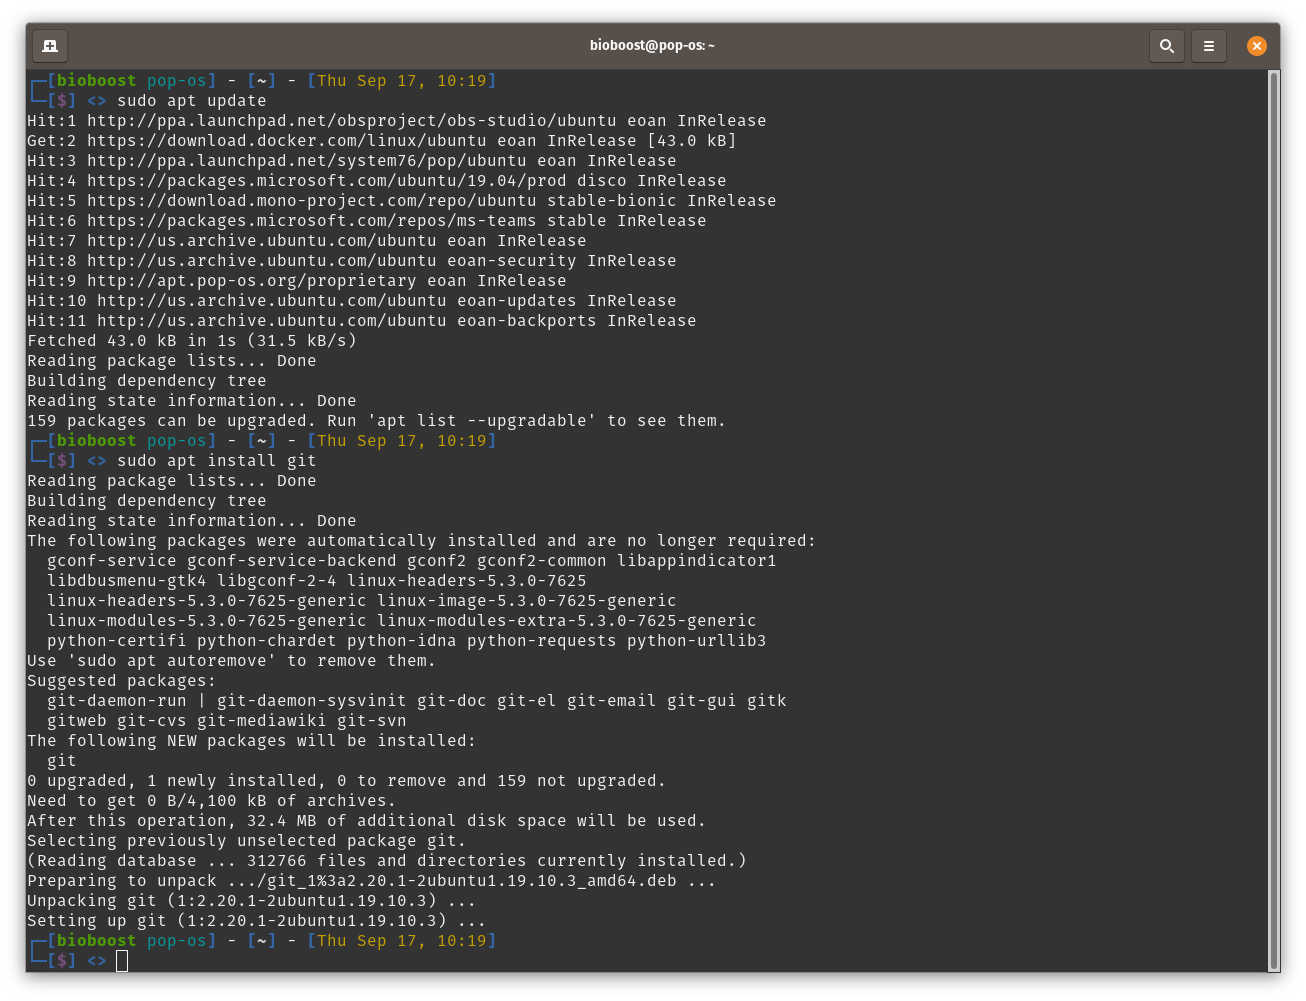
Many linux distributions these days have Git pre-installed. If not, or its an older version, then just open up a terminal window and install/update Git using apt:
sudo apt update
sudo apt install git
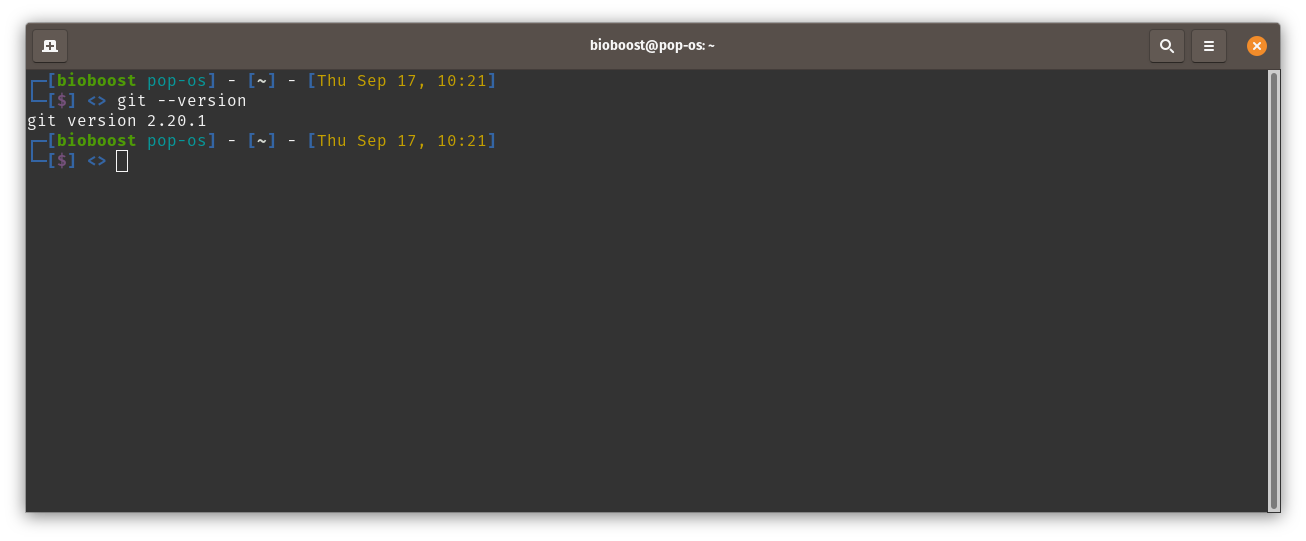
Test your installation using:
git --version
If all goes well, it should tell you the current version of the installed Git client, and should not show any errors.
Git is now ready to be used.
# Configuration
Git needs some minor configuration before it can really be used. Basically Git needs some personal information about you so it knows who is doing all the work.
# Name and email
Before you start using Git, you need to configure your name and email address.

You can do this with the following two commands:
git config --global user.name "John Doe"
and
git config --global user.email johndoe@example.com
Please make sure to change John Doe to your own name, and change johndoe@example.com to your own email address.
You should use your personal email address instead of you school email address. This way the history you make in Git is always credited to you, even if you finish your education.
# Extra
Now that Git is installed on your system, you should take a look at the following topics: