# GitHub
GitHub is a web-based hosting service for version control using Git. It is mostly used for computer code. It offers all of the distributed version control and source code management (SCM) functionality of Git as well as adding its own features. It provides access control and several collaboration features such as bug tracking, feature requests, task management, and wikis for every project.
You can find GitHub on their website github.com (opens new window)
We choose GitHub because it is a great product. On the other hand it enables you as a student to build up a 'code portfolio' that you can be used when searching for a job, or internship. It should become something you are proud of and want to show of with.
# Create an account
Your GitHub account will extend beyond your student career, keep in mind it might become an account for life.
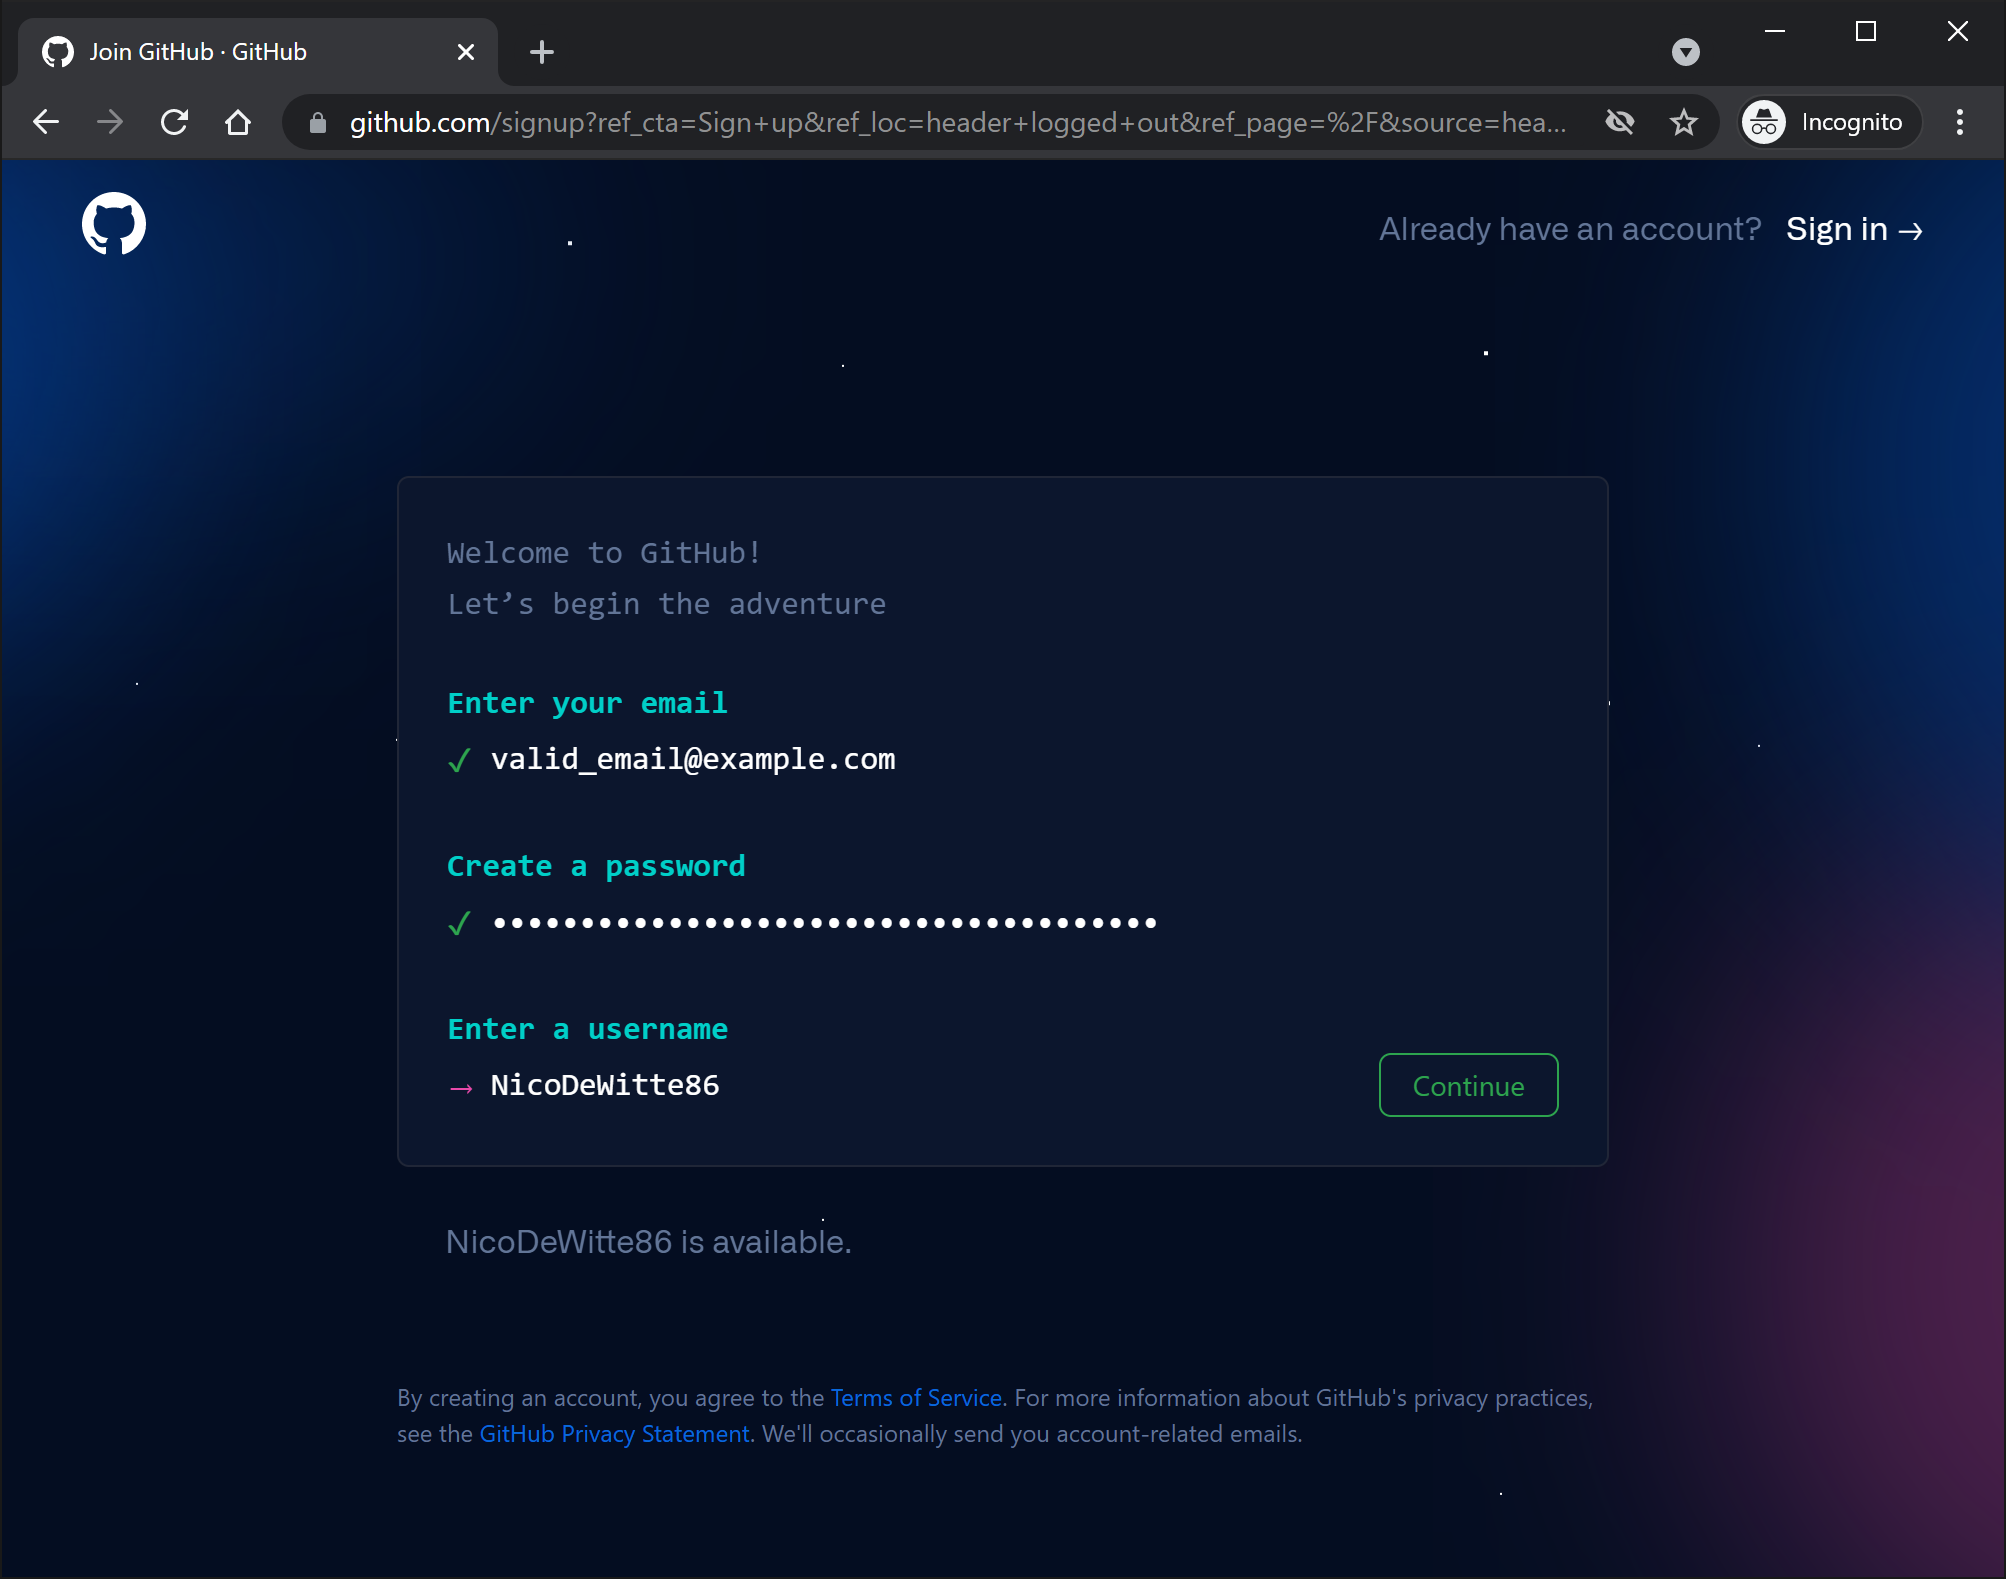
Traverse to github.com/ (opens new window) and click the Sign up button at the top right.
When creating an account, keep the following things in mind:
- username: You can choose your own username, no rules, keep in mind you might hold on to this account for many years.
- email: You can use your own personal email address (later on we will add your school email as well to get a free discount).
- password: Choose your password wisely, and never ever share it with anybody.
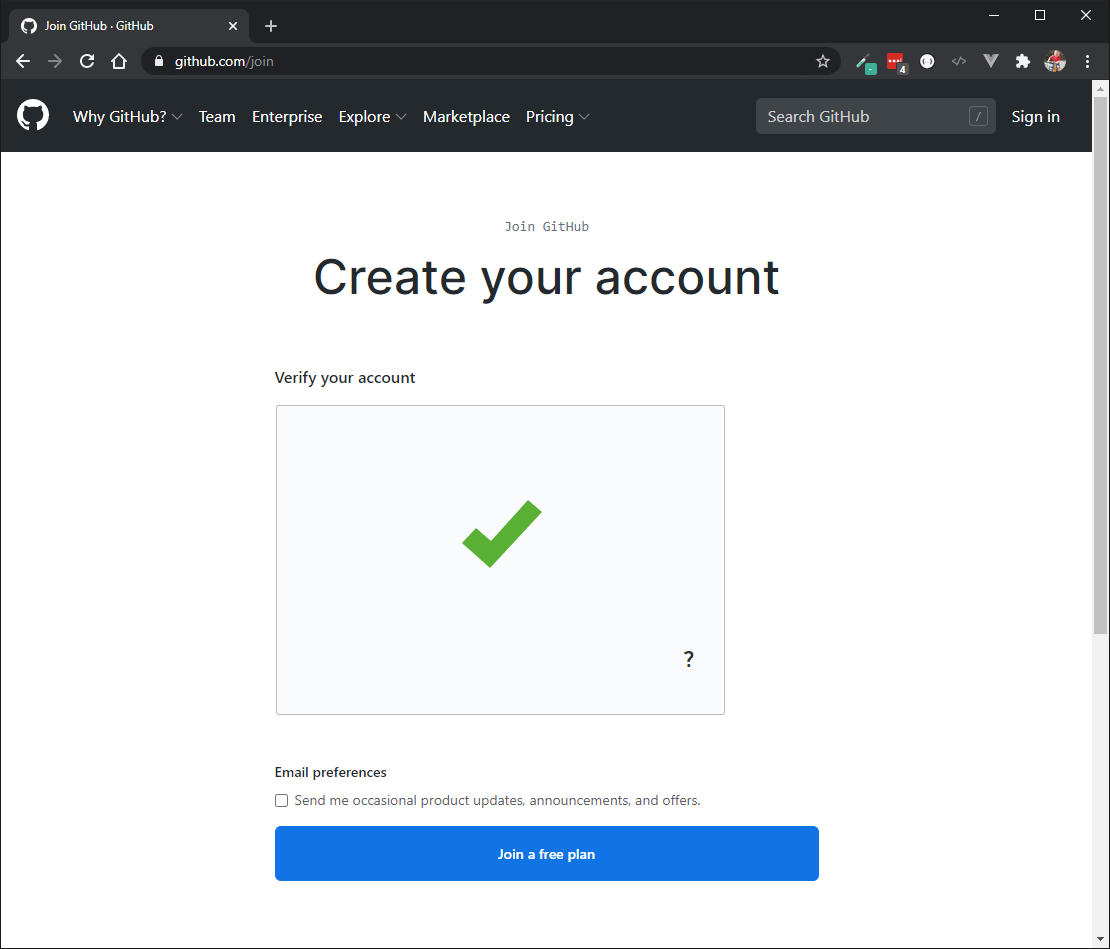
Next you will need to prove you are human.
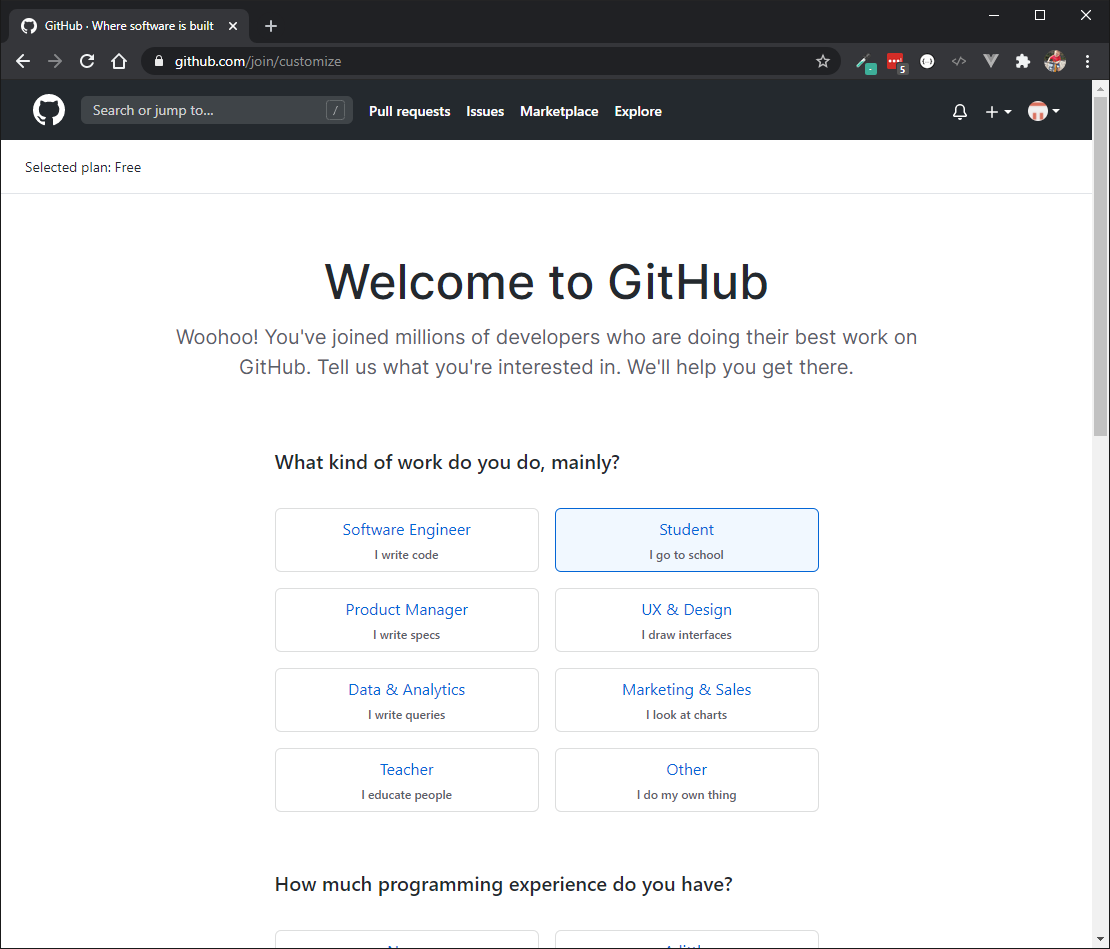
Next you will need to provide some details on how you plan to use GitHub. Just select the student-related options.
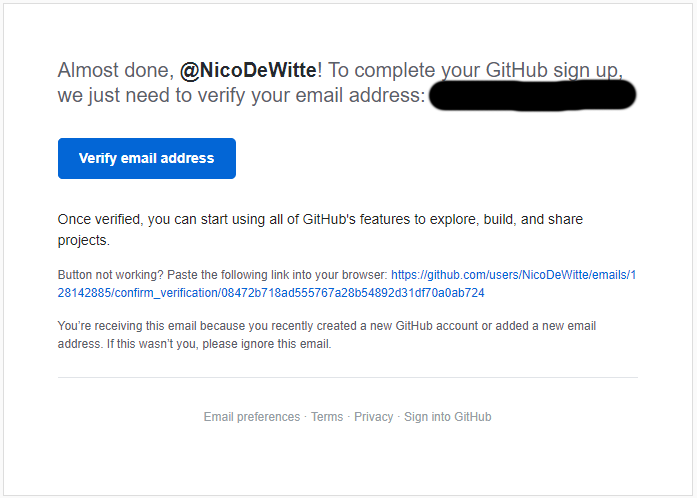
Next check your email to verify your account by clicking the Verify email address button.
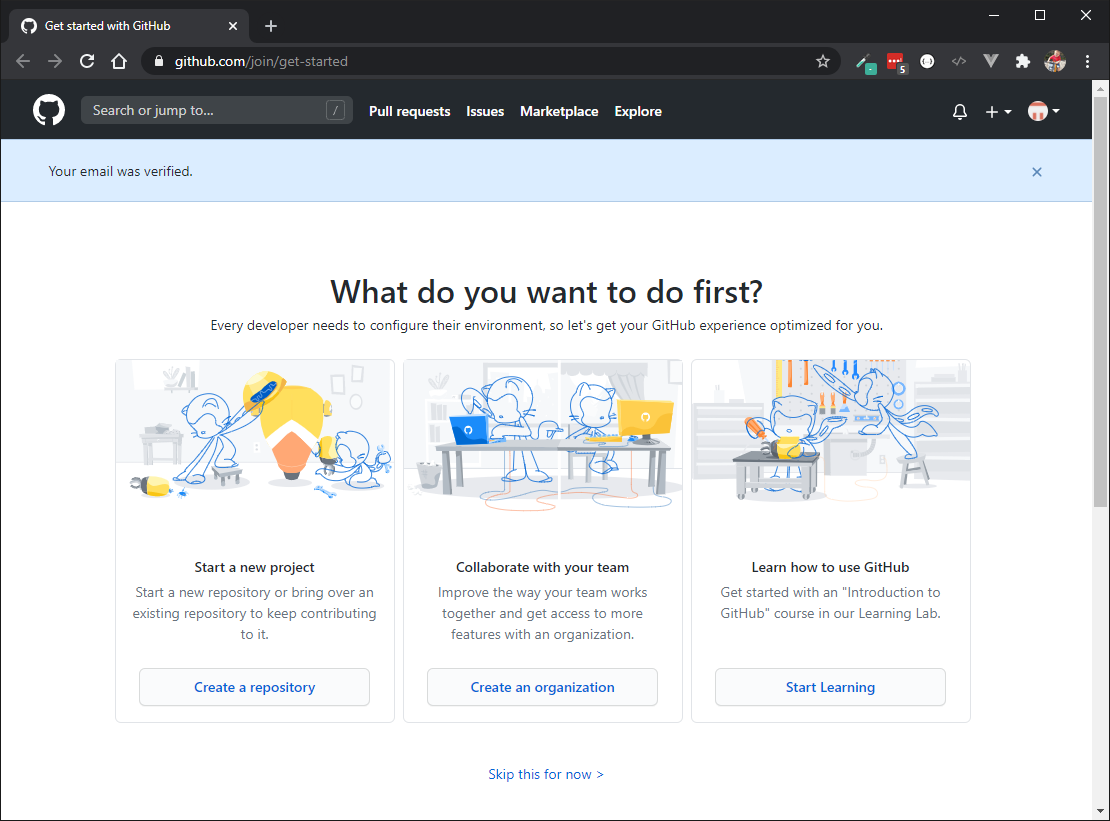
You will be redirected to your GitHub account. When presented with the screen with what to do first, just select Skip this for now.
# GitHub Education
As a VIVES student, you are entitled to a discount. To create private code repositories you need a paid plan. The GitHub Education program will give you the paid plan options for free as long as you are a VIVES student. This will enable all the bells and whistles, even unlimited private repositories.
# Adding your VIVES email to your account
To prove GitHub you are a VIVES student, you need to add a second email to your (personal) GitHub account. Go to github.com (opens new window) and click on your profile picture in the upper-right corner.
Then click on Settings. On the left in the sidebar, an option Emails should be available. Click on it.
In "Add email address", type your email address and click Add.
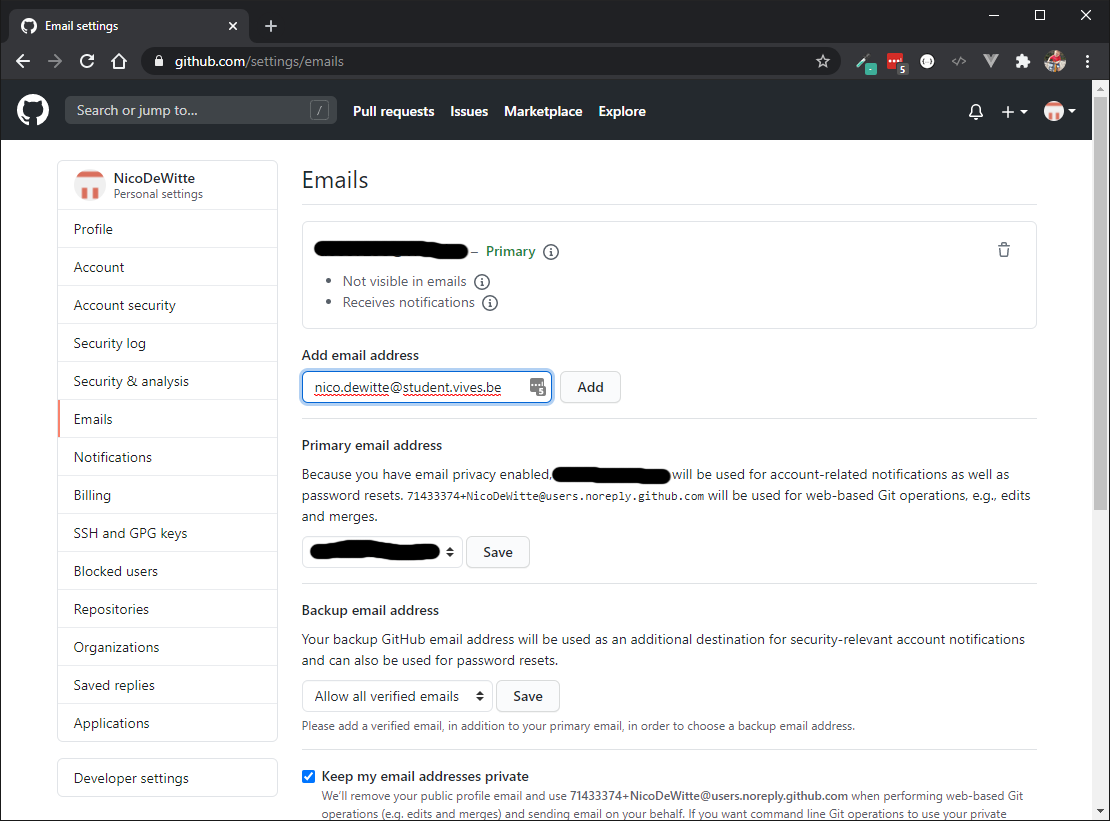
Next you should receive a verification email in your mailbox. Click on the link in that email to verify your email address.
# Applying for the Educational discount
To get the educational discount navigate to dashboard by clicking the Octocat avatar in the top-left corner or by surfing to github.com (opens new window).
You dashboard should show an option Get the Student Developer Pack.

TIP
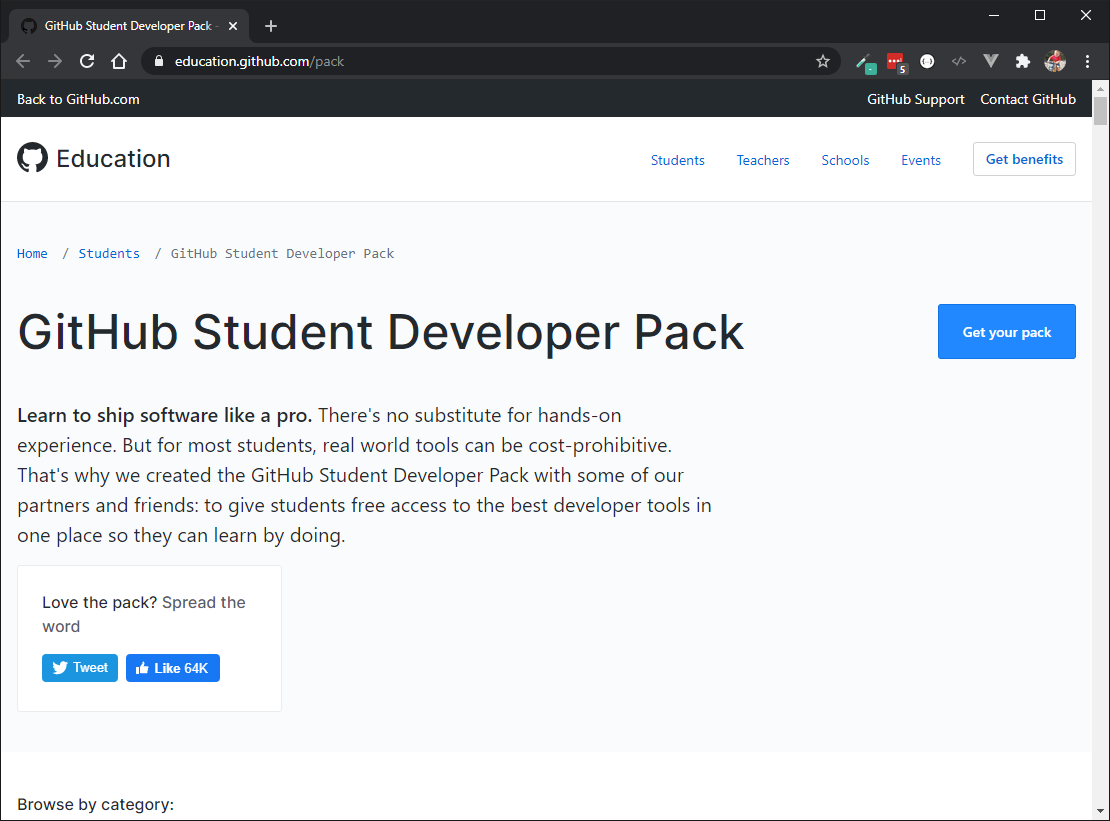
If you do not get the option on your dashboard, you can also navigate to https://education.github.com/ (opens new window)and select the Github Student Developer Pack.
Next select the option Get your pack.
You will be presented with a form consisting of a few questions. Fill them in and make sure to select your VIVES student email address. Click the Submit your information button once you are finished providing the necessary information.
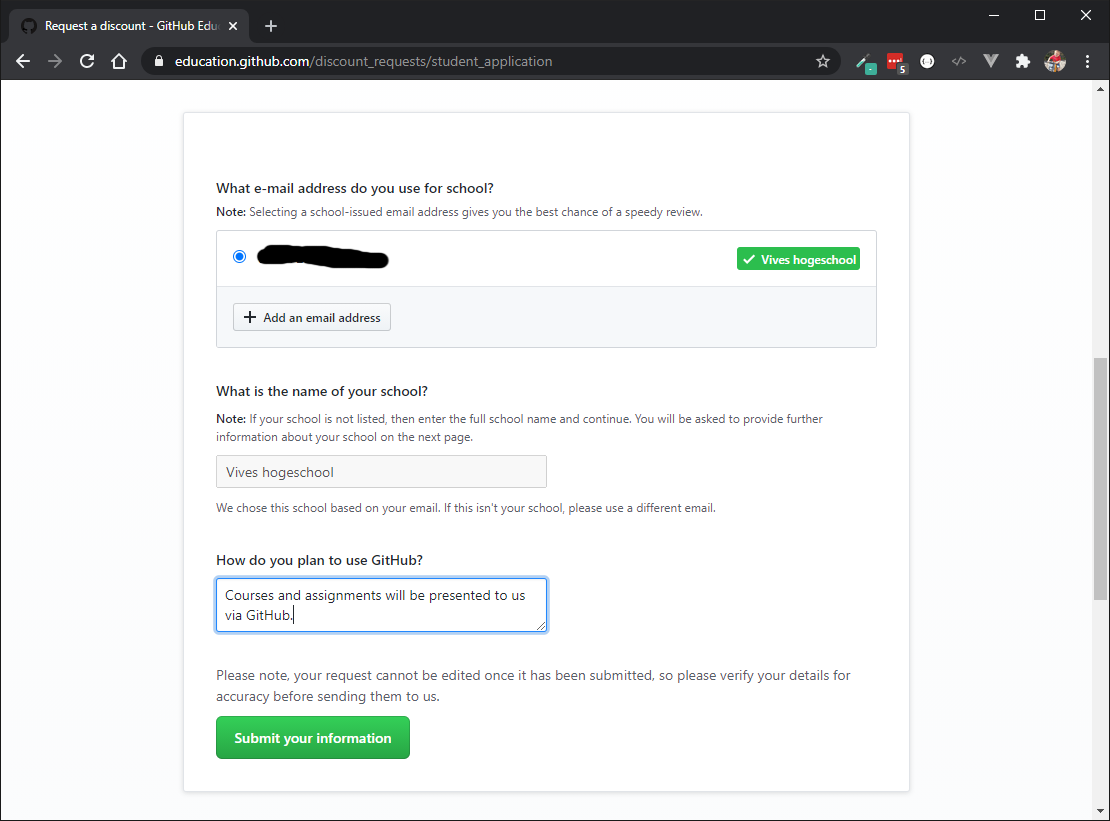
When all went well your application should be submitted and you should receive an email when your account has been allowed for the educational program.
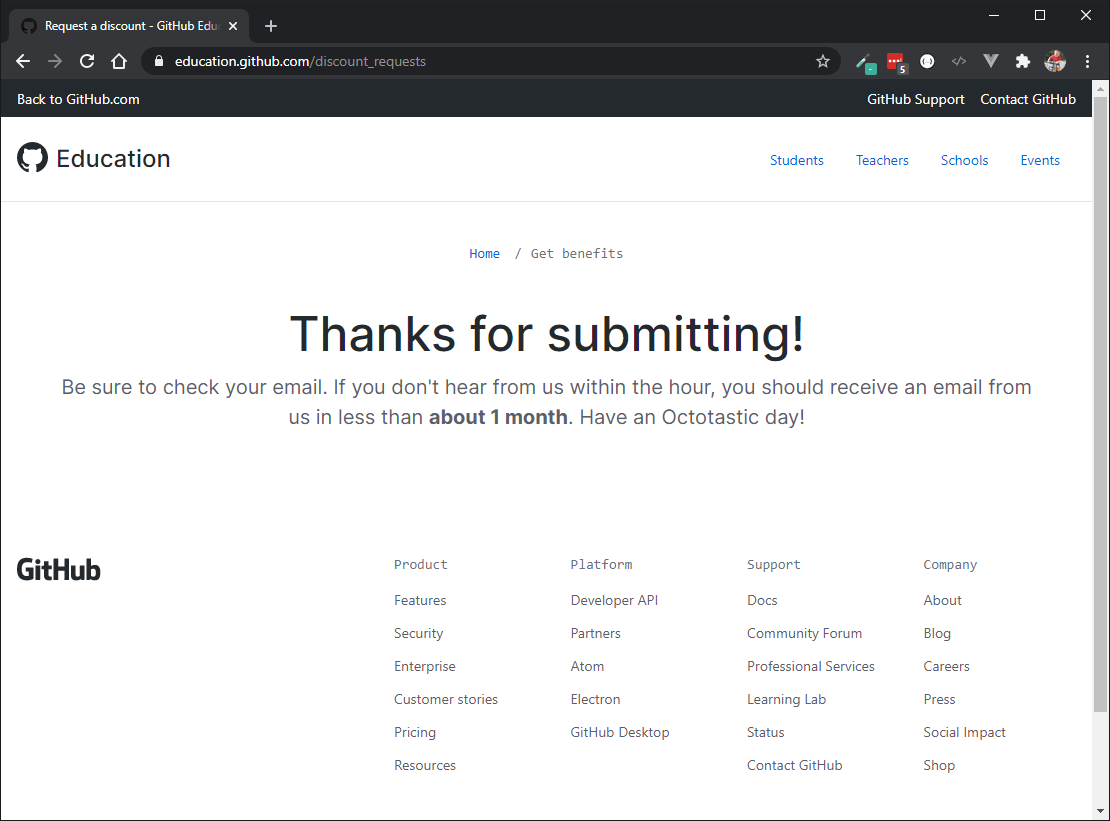
It may take some time to get verification of your discount.
# Public key authentication
When interacting with GitHub you have the option to enter your username and password every time. Because these interactions add up over time, entering a username and password will take a lot of your precious time.
A better solution is to make use of public key authentication (PKA). This way you don't need to provide your username and password with every interaction. PK authentication has more benefits over password authentication. For example it inherently makes use of encryption and is far more difficult to hack.
# Generating a private and public key
First we need to generate a private and public key pair.
The private key is a personal key that needs to stored on the machine you want to use to interact with GitHub. This key is private and should never be shared with anyone. Sharing this key is the same as sharing your password.
The public key can be known by everyone. So it safe to store the key on GitHub.
Generating a random key-pair can be done with the ssh-keygen command. The command needs two extra options.
-t: the type of the key,rsain our case-C: Comment, add your name and machine name with the@notation. Eg:sille@laptop. NOTE that theCoption is a capital letter!
Open up a PowerShell (or terminal in case of linux) and use the command below to generate a key-pair. Don't forget to replace the yourname@machine with your own comment.
ssh-keygen -t rsa -C yourname@machine
The command will ask for some extra information. You should leave the default values by simply pressing ENTER. Keep the default installation path and do not use a password.
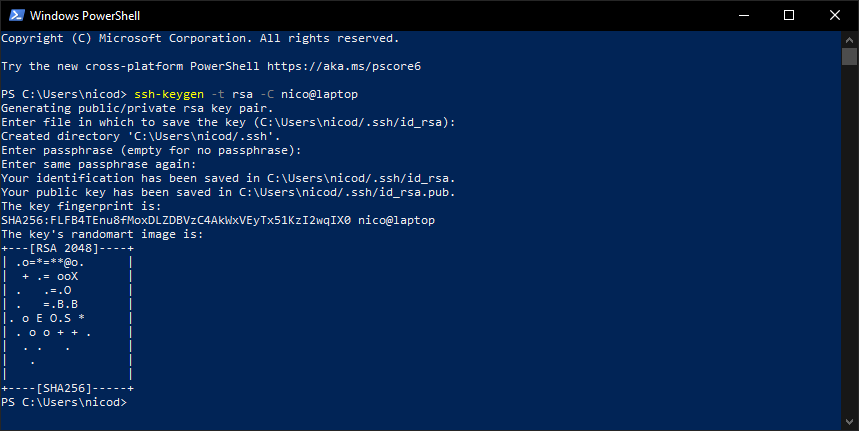
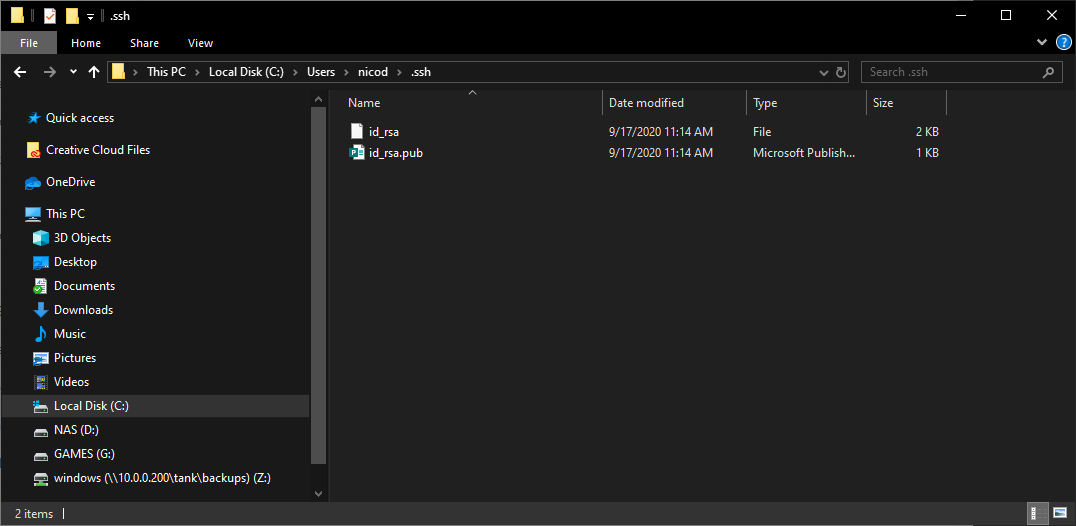
Both keys are placed in a subdirectory .ssh inside your Windows user directory (typically found in C:\Users\<username>)
id_rsa: this file contains the private key, never share thisid_rsa.pub: this file contains the public key
On linux these files can be found in your home directory below a directory called .ssh.
# Adding your public key to your GitHub account
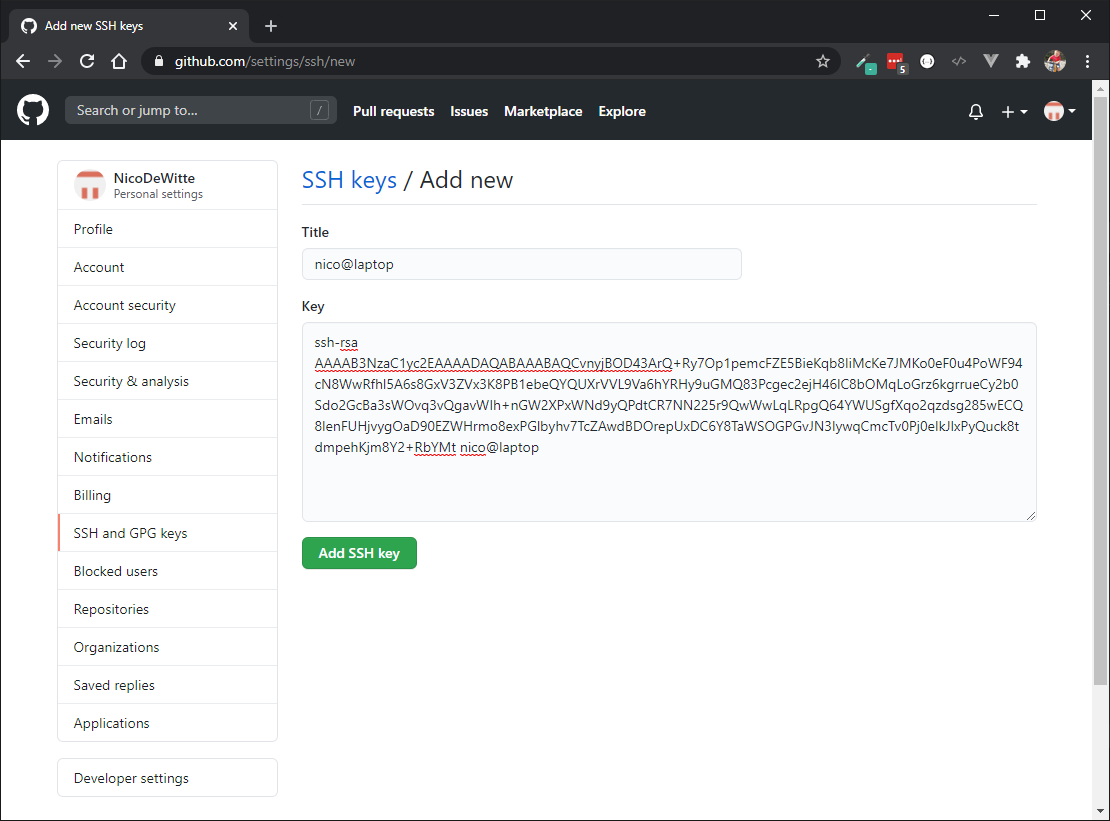
Copy the public SSH key to your clipboard (content of the id_rsa.pub file - you can use for example Visual Code to open the file).
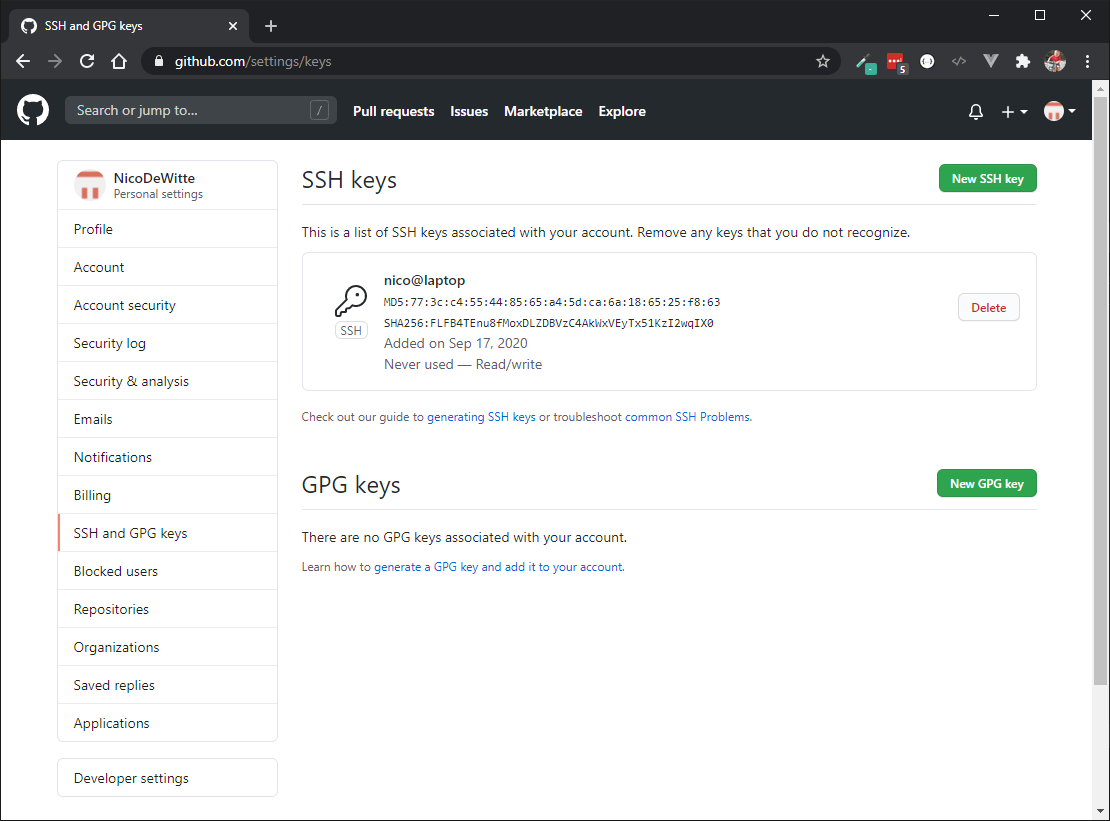
- In the upper-right corner of any page, click your profile photo and select Settings.
- In the user settings sidebar, click SSH and GPG keys.
- Click New SSH key or Add SSH key.
- In the
Titlefield, add a descriptive label for the new key. For example, if you're using a personal laptop, you might call this keyPersonal laptop. - Paste your key into the
Keyfield. - Click Add SSH key
- If prompted, confirm your GitHub password.
You are now ready to use GitHub without entering your username and password on every interaction.
← Installation posh-git →